Author: Lalit Kumar, Cloud Engineer
In this article, we will learn how we can make possible the communication of Point to site users configured on Azure VPN Gateway to a network over the Site to Site with certification Authentication.
When we are dealing with the communication of point to site users over a site-to-site network then there are two major things to perform for communication
- Whitelist the Point-to-site Address Range on Site-to-Site tunnel at the remote side on other network form point to site configuration network
- Add manual route on each client(each point to site user) for the network which exists over the site to site, then we can make possible communication between point to site user over the site-to-site network
But above two steps solution is not feasible for the production environment, because we need to create a manual route on each client, for example, if there are 100 users then we need to create 100 routes on all devices manually at every time to connect the Azure VPN.
In this article, we resolve this problem of adding a manual route on each Point-to-site. The solution is to modify the VPN client .exe file and add one route on it for the network over the site-to-site. In this process, we extract the files from the original VPN Client .exe file and add the route of the network over site-to-site in route.txt file and then create a new .exe file from these extracted files, finally used a new .exe file to install the VPN client and with this VPN client, we can communicate the point to site users to a network of site-to-site.
Environment details
- Two Virtual Network VNet1 and VNet2 connected with each other from site to site.
- Configure point-to-site on VPN gateway of VNet1
- Address space of VNet1 -10.0.0.0/16
- Address space of VNet2 – 10.1.0.0/16
- Address space of Point to site users – 172.16.0.0/16
There are three steps required to make communication possible for the point-to-site users to VNet2 in the above scenario.
-
- Prepare Infrastructure for the environment
- Point-to-Site configuration
- Routing configuration
- Whitelisting of IP configuration
- Add a route in route.txt file extracted from VPN client .exe file
Step1 – Prepare Infrastructure for the environment
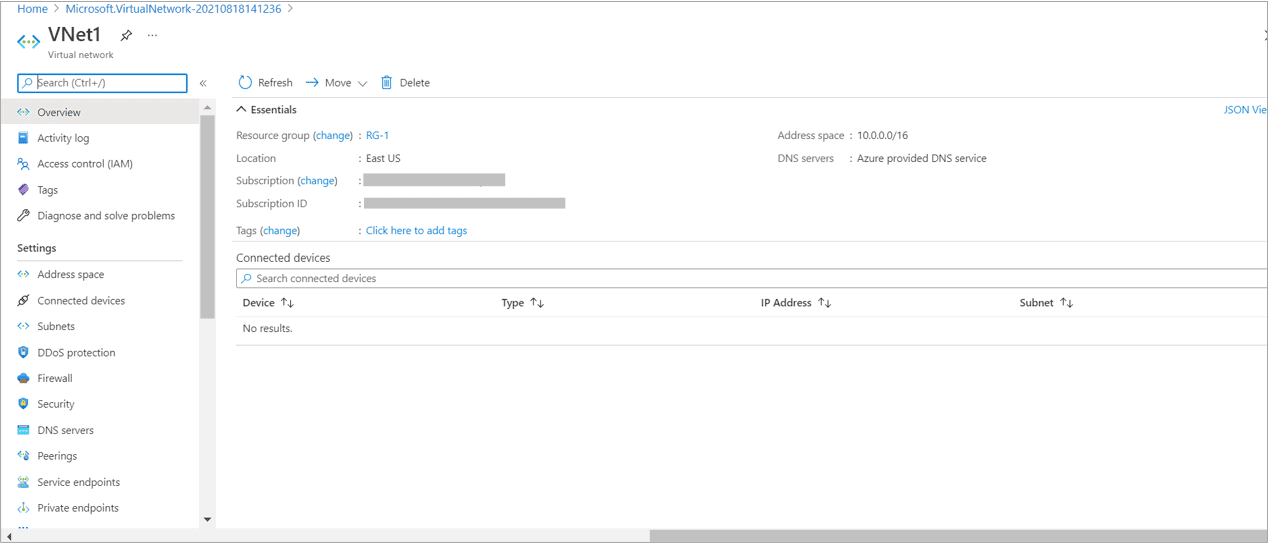
Create Virtual Network – VNet1
Create Virtual Network Gateway in VNet1
Create Virtual Network -VNet2
Create Virtual Network gateway in VNet2
Create Site to Site between Both VNET’s(Without BGP for this case)
Step2 – Point to Site Configuration
Create Self- Signed Certificate for Certification Authentication for Point to Site using below Command in Powershell
The Command for the Root certificate
$cert = New-SelfSignedCertificate -Type Custom -KeySpec Signature `
-Subject “CN=P2SRootCert” -KeyExportPolicy Exportable `
-HashAlgorithm sha256 -KeyLength 2048 `
-CertStoreLocation “Cert:\CurrentUser\My” -KeyUsageProperty Sign -KeyUsage CertSign
The Command for Client Certificate
New-SelfSignedCertificate -Type Custom -DnsName P2SChildCert -KeySpec Signature `
-Subject “CN=P2SChildCert” -KeyExportPolicy Exportable `
-HashAlgorithm sha256 -KeyLength 2048 `
-CertStoreLocation “Cert:\CurrentUser\My” `
-Signer $cert -TextExtension @(“2.5.29.37={text}1.3.6.1.5.5.7.3.2”)
After Successfully run the commands Go to Manage user certificate >> personal >> Certificates
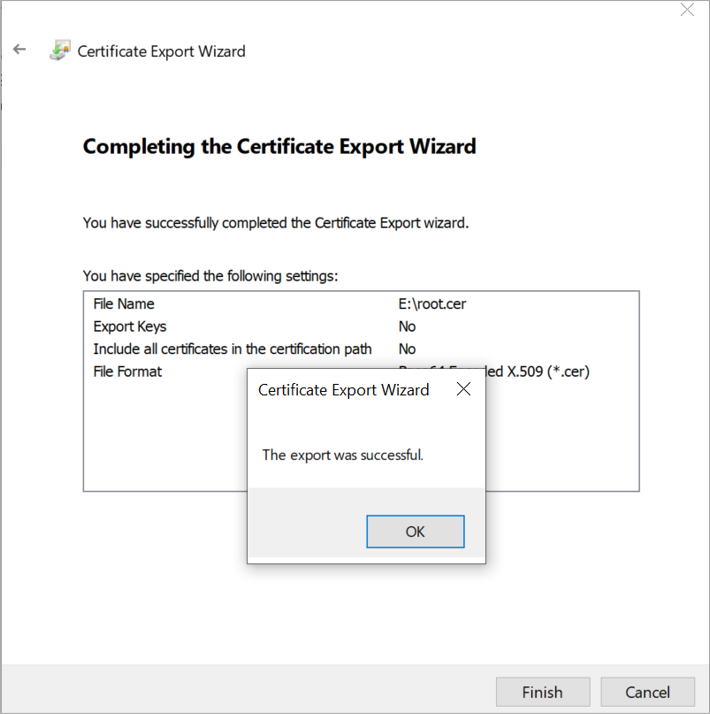
Export the Root Certificate
Right-click on the root certificate >> Click on All Tasks >> Click on Export
Click on next.
Click on next
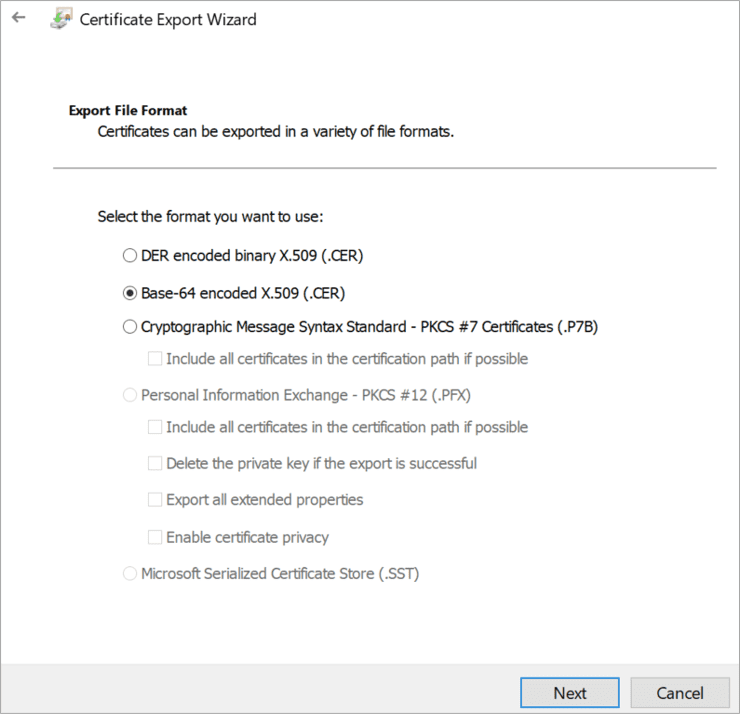
Select Base-64 encoded X.509 (.CER) and click on next
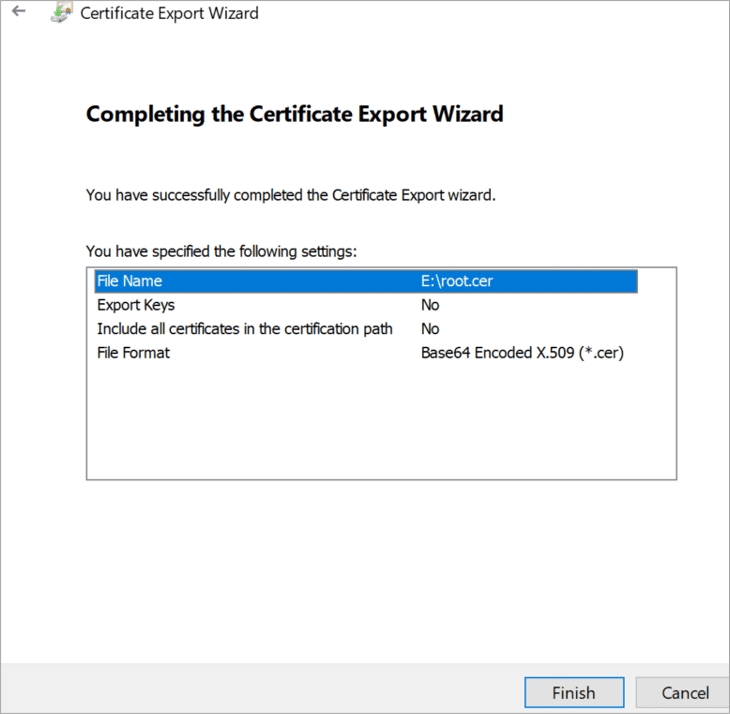
Click on Browse, select the location to save the Root certificate, and click on next.
Click on finish.
Click on OK
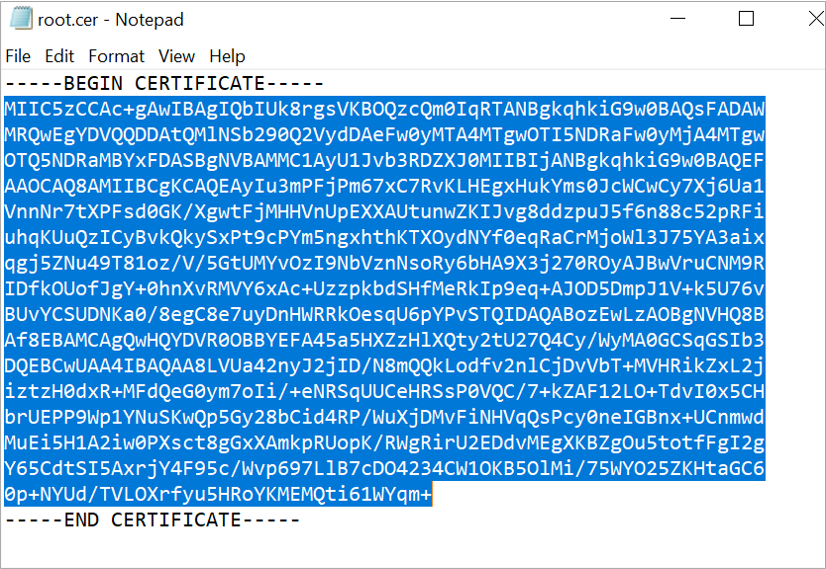
After exporting successfully, the root certificate, go to the location where the root certificate has been saved and open the root certificate with Notepad
Copy the key form root certificate file
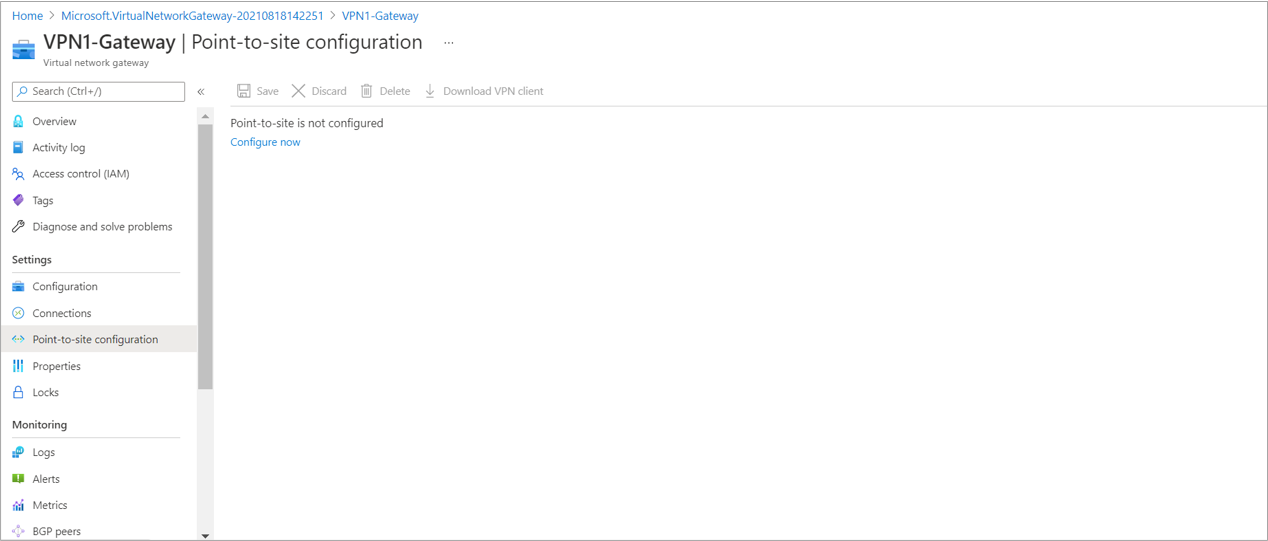
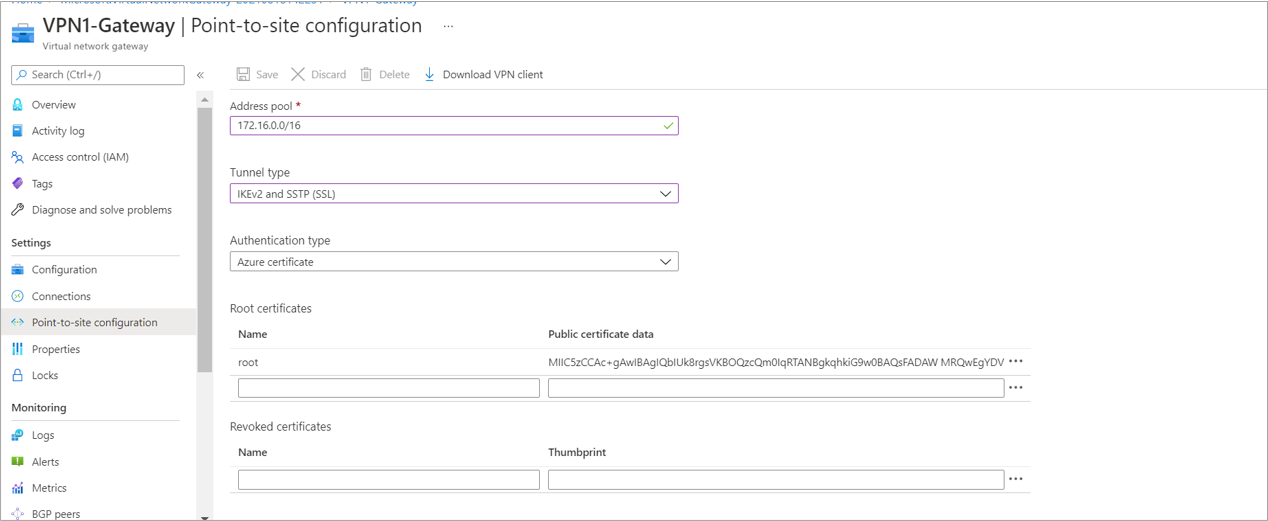
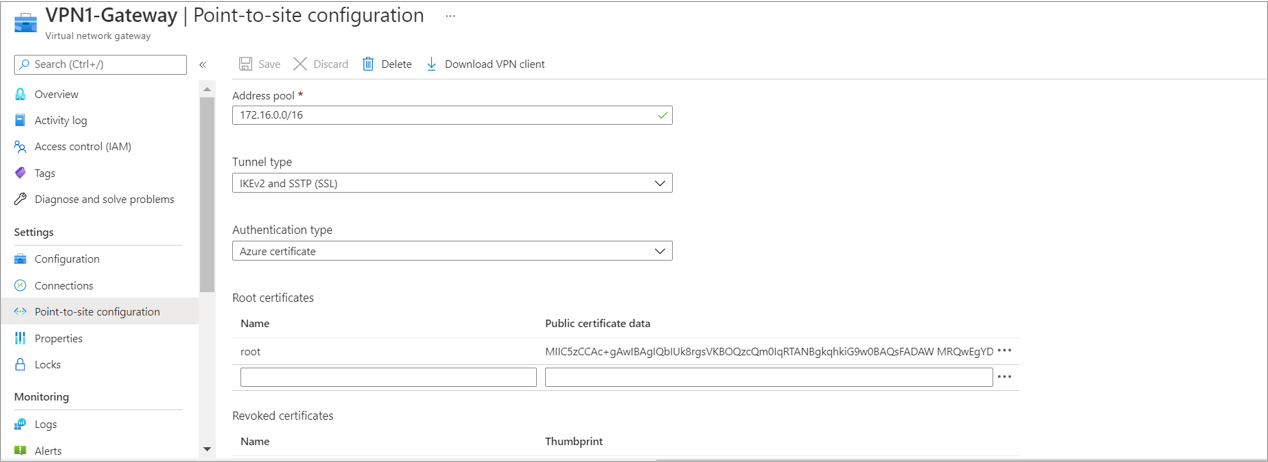
To configure point to site configuration go to VPN1-Gateway >> Point to site configuration and click on the Configure Now
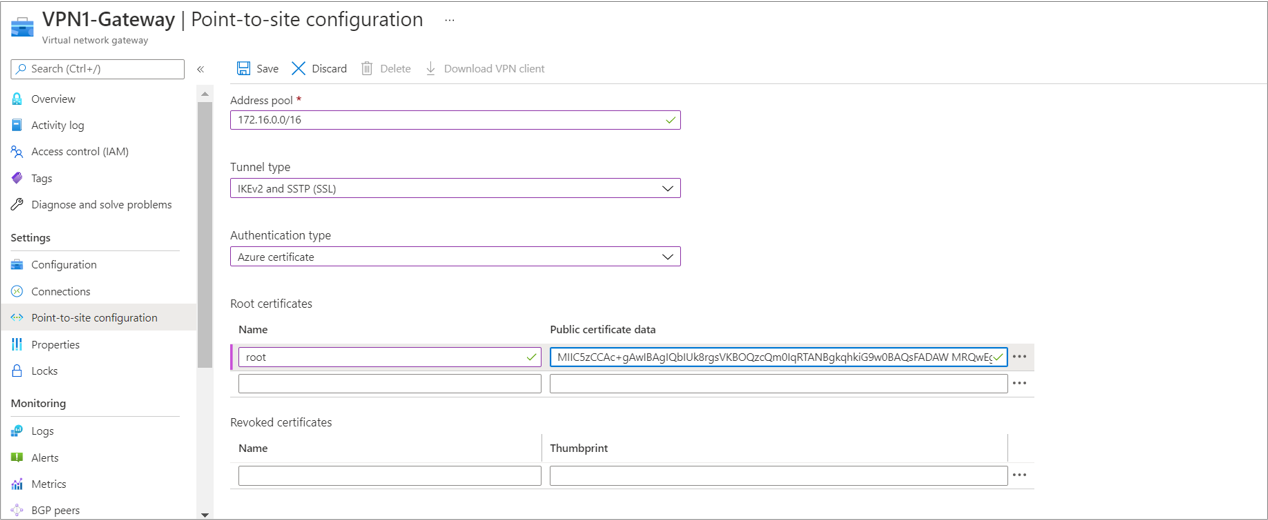
Enter the Address pool – 172.16.0.0/16 (for the point to site users)
Select the tunnel type- IKEv2 and SSTP (SSL)
Select the Authentication type – Azure Certificate
Enter the name for Root Certificate – root
In Public certificate data – paste the key which has been copied from the root certificate notepad file.
And Click on Save.
Export the Child certificate
Right-click on the Child certificate >> Click on All Tasks >> Click on Export
Click on Next
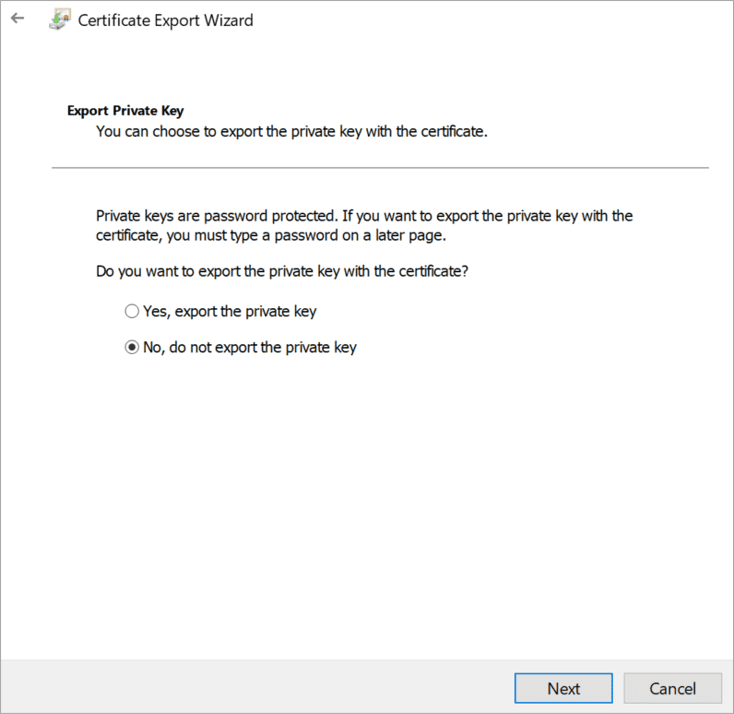
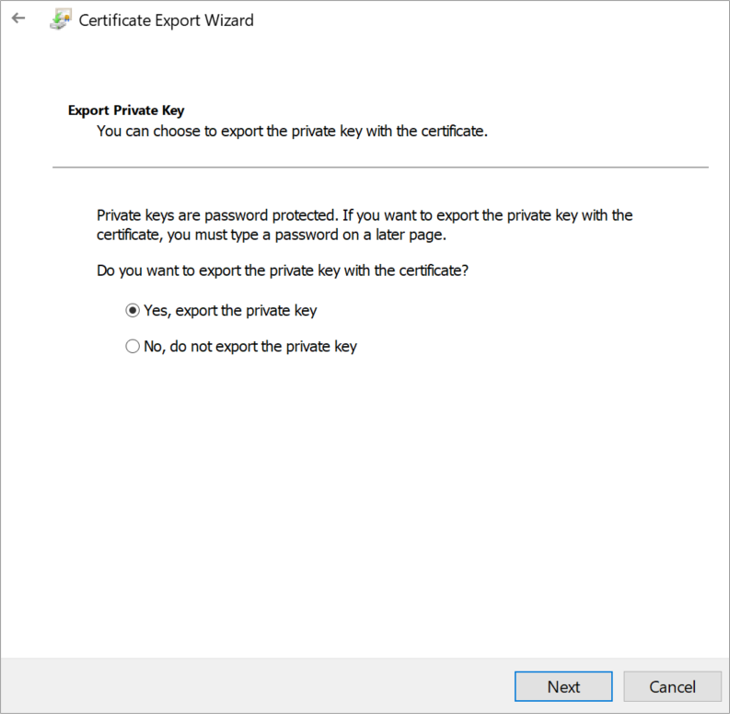
Select Yes, export the private key and click on next
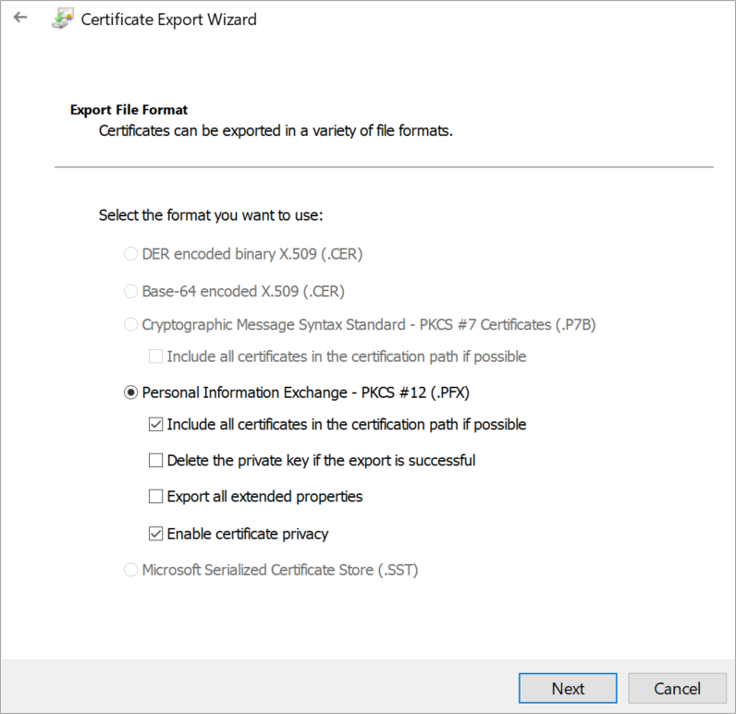
Click on next
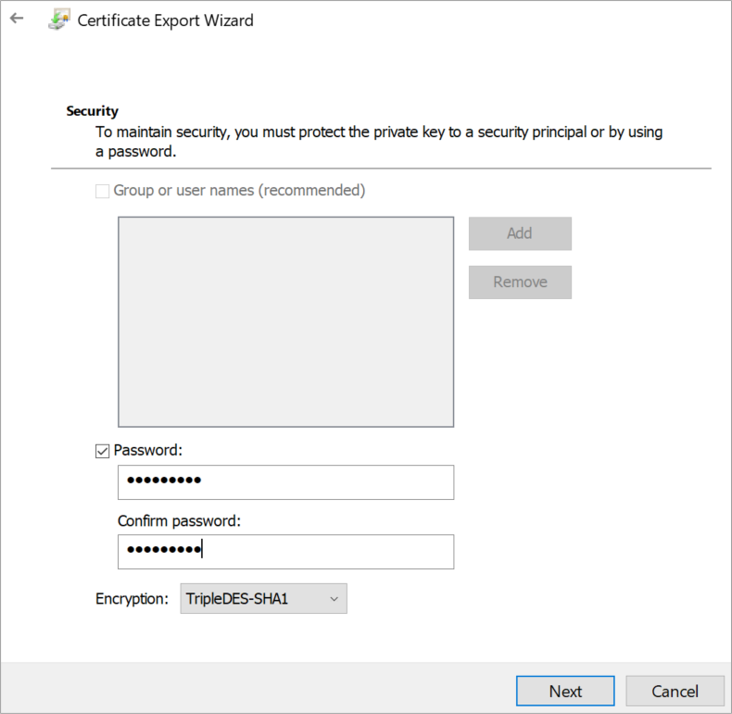
Set the password for your child certification in the password option.
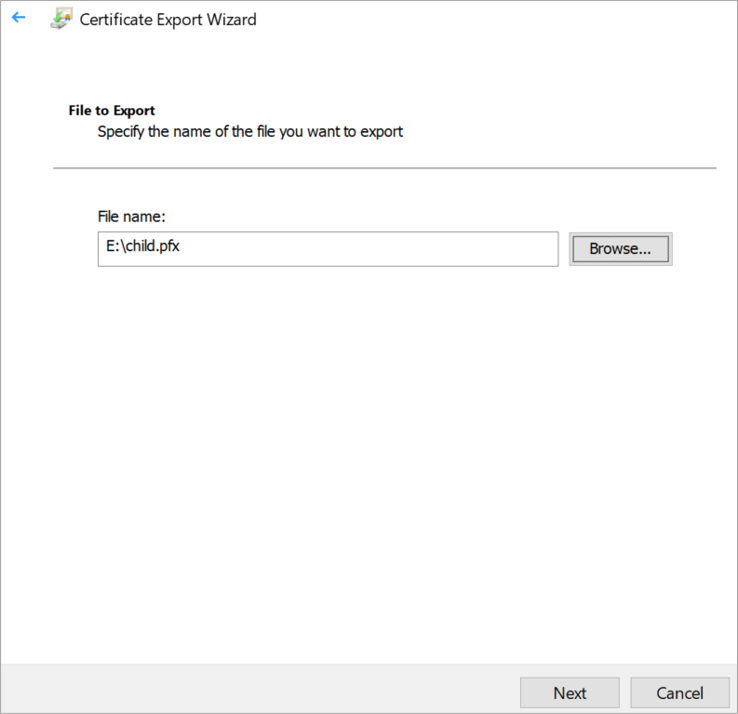
Click on Browse, select the location to save the Child certificate, and click on next.
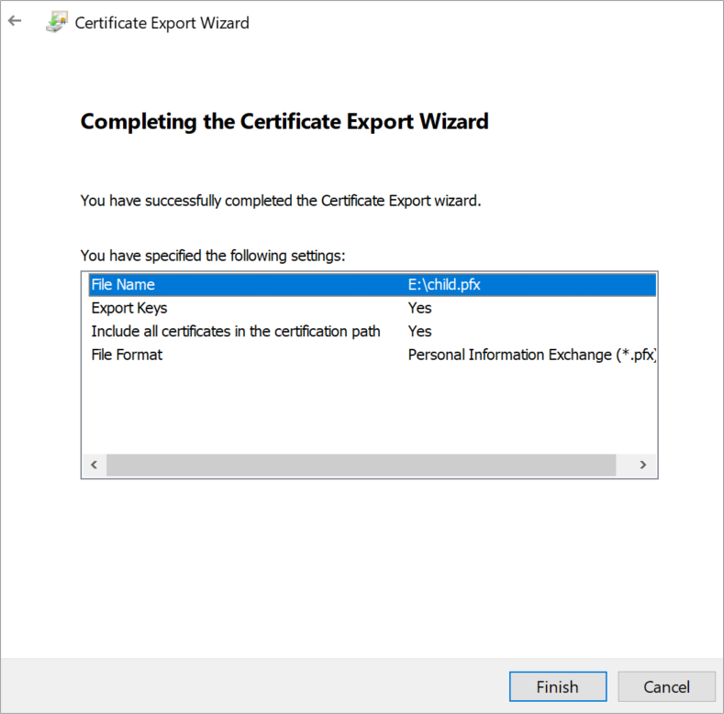
Click on Finish.
Click on OK.
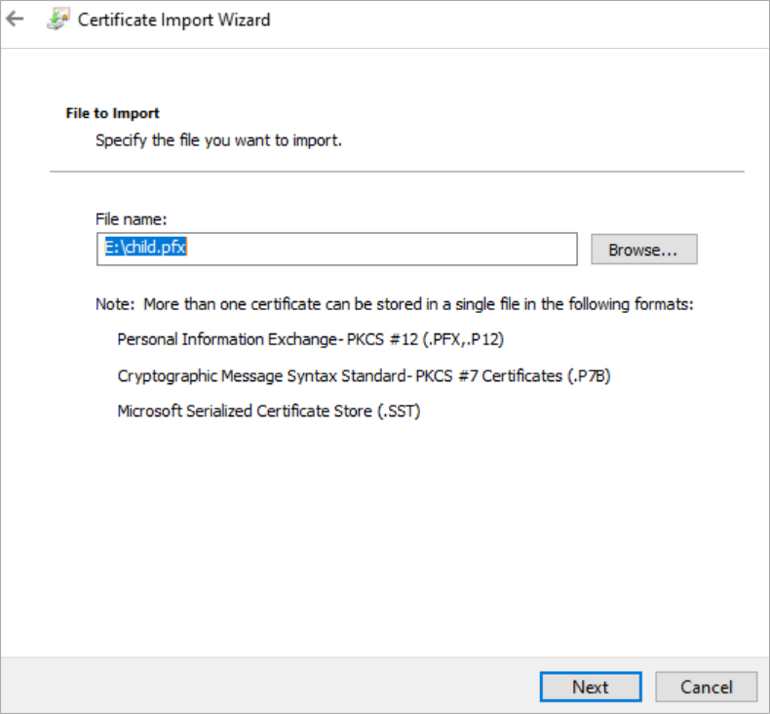
After exporting successfully, the child certificate, go to the location where the child certificate has been saved.
Right Click on Child.pfx file and click on Install PFX
Select the Current User and click on next
Click on Next
Enter the password which was set at the time of exporting the child certificate and click on next.
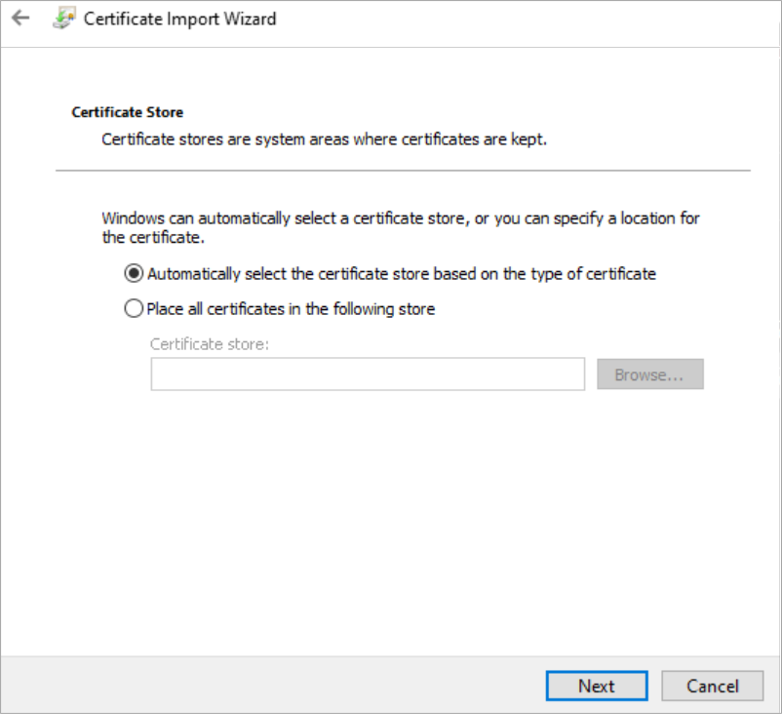
Click on Next
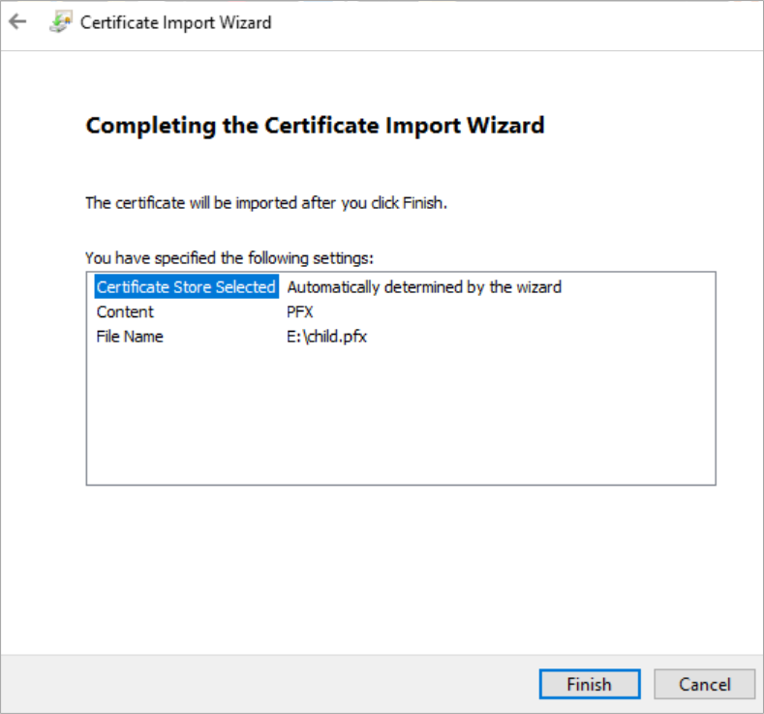
Click on Finish
Click on OK
Now, from the Azure portal go to VPN1-Gateway >> Point to Site Configuration and Click on Download client.
Extract the VPN client zip file, there are three folders
Generic – Contains Azure VPN setting files
WindowsAmd64 – Contains the .exe file of the VPN client for the 64 bit Client Operating system.
WindowsX86 – Contains the .exe file of the VPN client for 32 bit Client Operating system.
Open the windowsAmd64 folder
Double click on VPNClientSetupAmd64 and it will install in your system
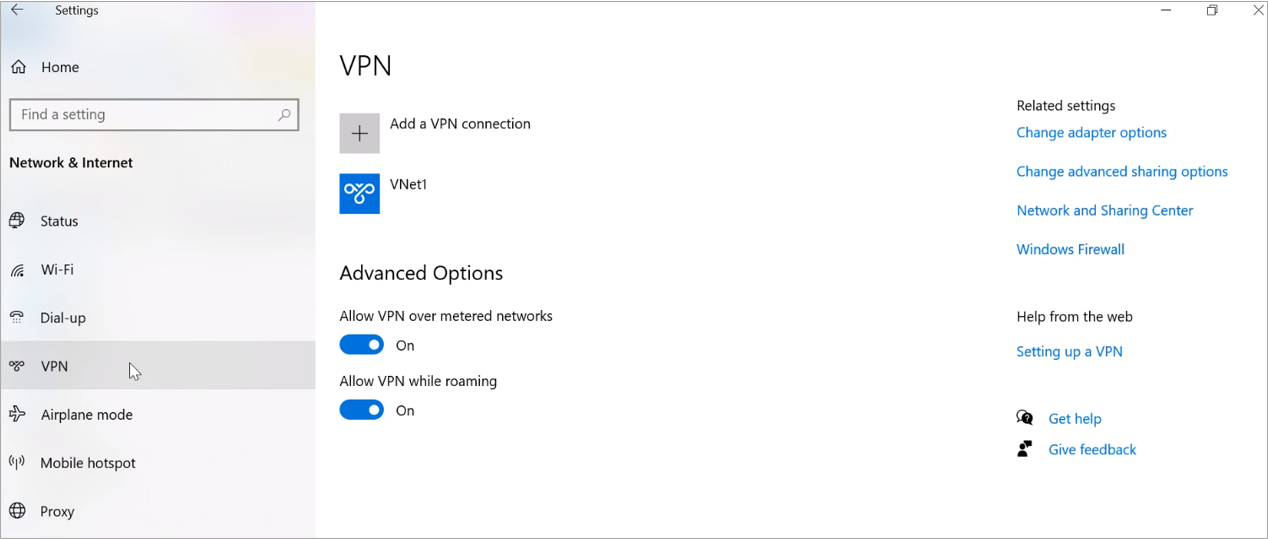
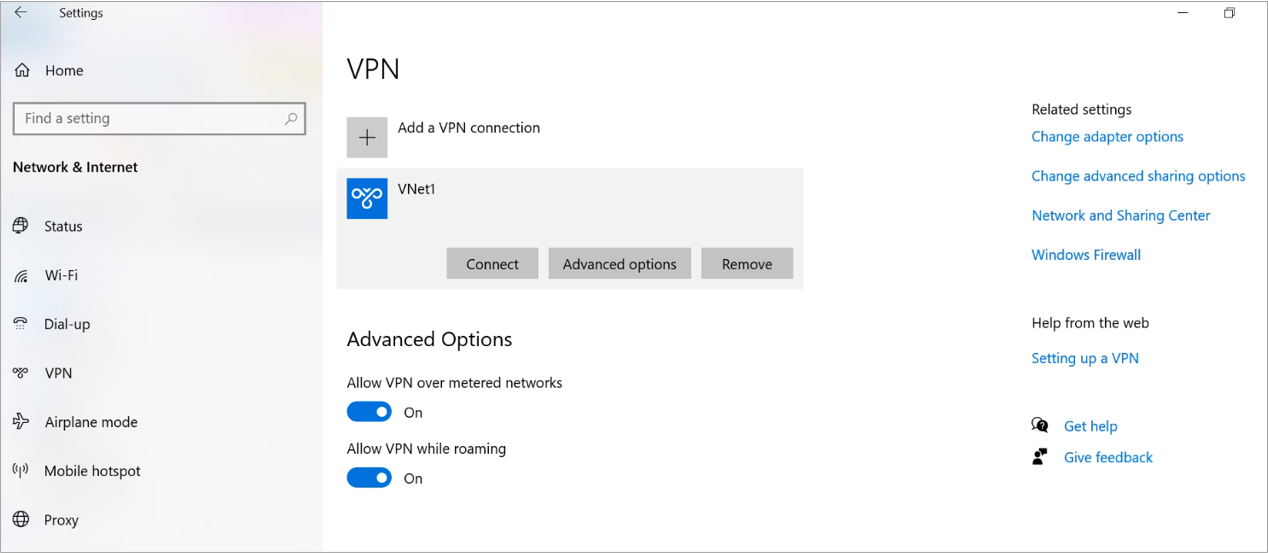
After installation of the VPN client, Go to windows setting >> Network and internet
Click on VPN and then VNet1
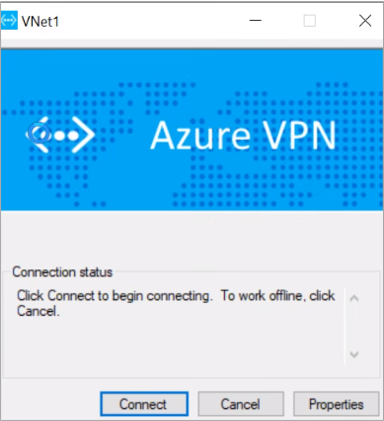
Click on Connect
Click on Connect
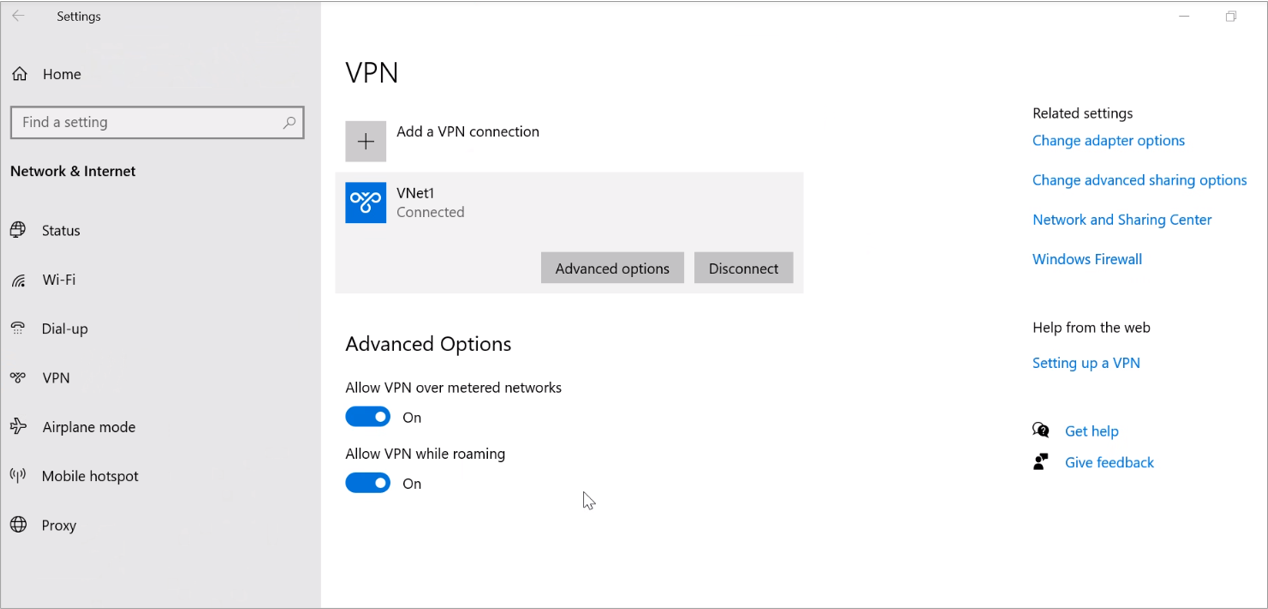
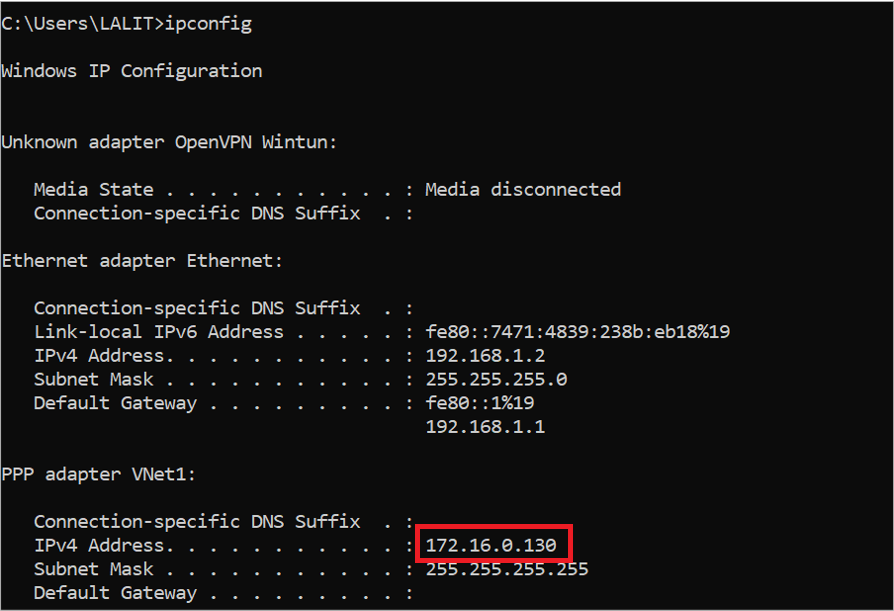
Now VPN is connected and we get IP from Point the site IP Range
Now we are able to communicate with VNet1 but not with VNet2
By default Point to site users are not able to communicate over the site to site with IkEv2 and SSTP tunnel type so that we made Some routing configurations on topology.
Step3 – Routing Configuration
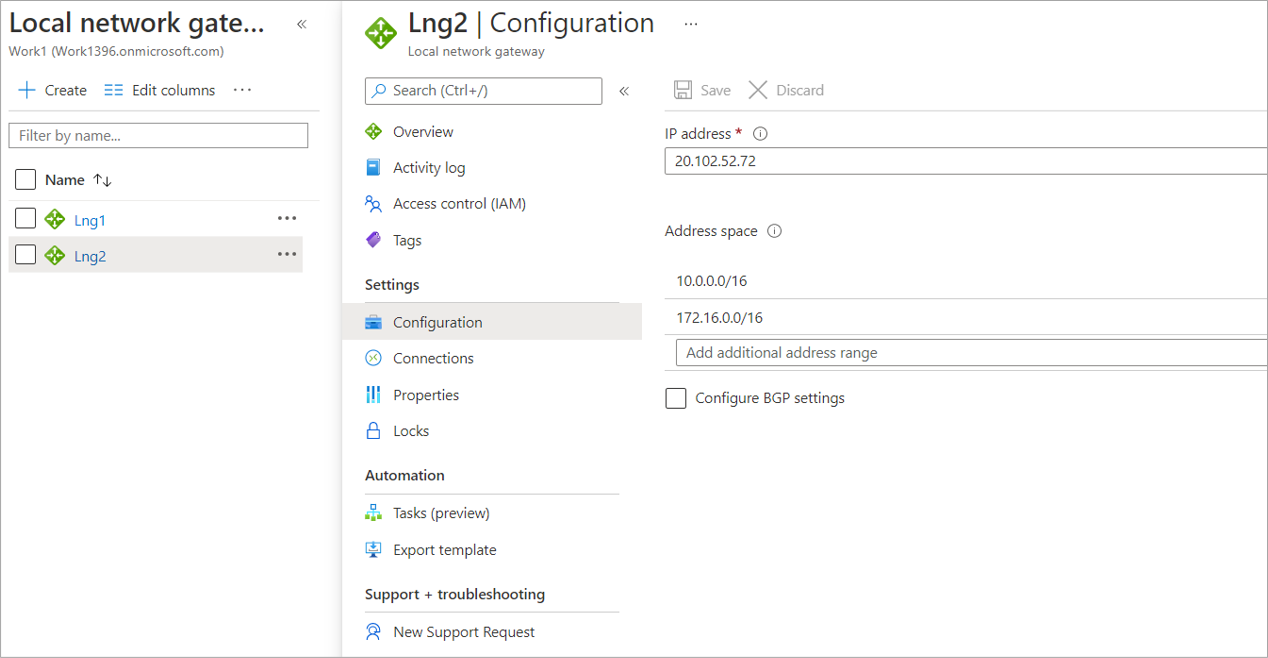
- Whitelisted the Point to site address space 172.16.0.0/16 into VNET2 Local Network Gateway Lng2 for making communication possible.
Note: If Site-to-Site is configured with BGP then there is no need to whitelisting the IP address
- Add route in VPN client .exe file for the 10.1.0.0 Network (for VNET2), because by default there are two routes are there in route file of VPN client .exe file
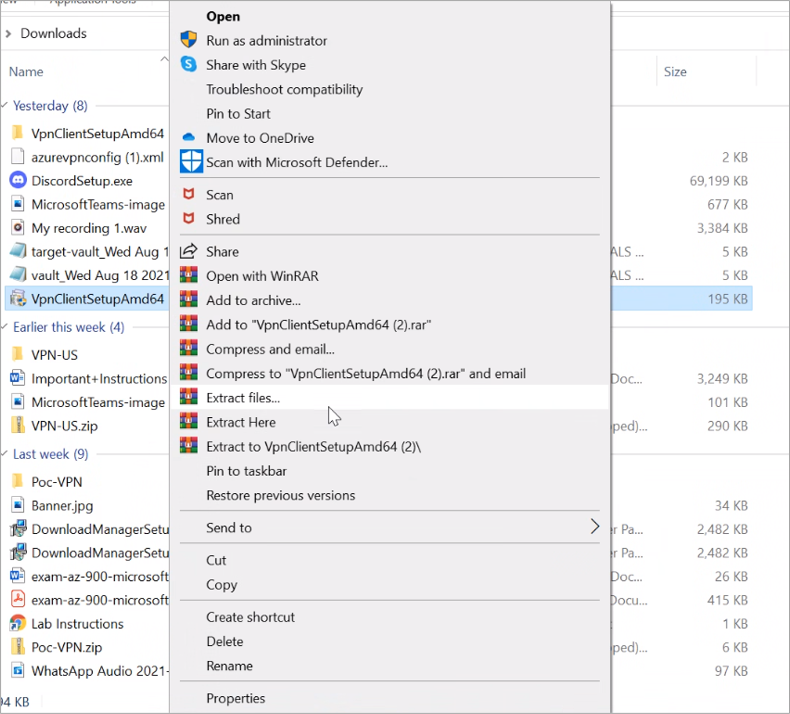
Right-click on the VPN Client file(.exe file) and click on Extract files
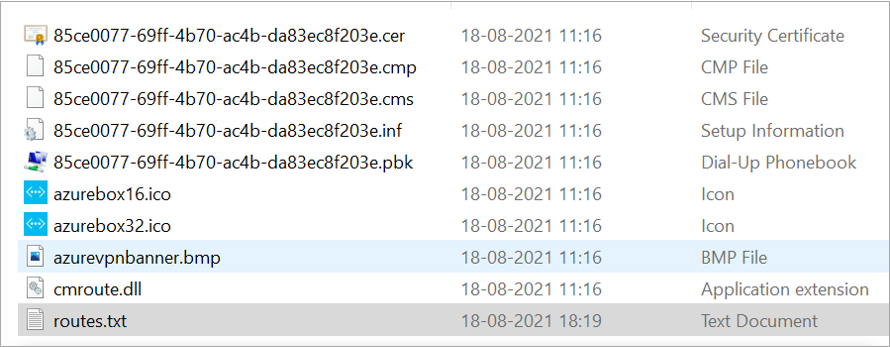
Below are the extracted files of the VPN Client .exe file
Open the routes.txt, by default there are two routes, are there in the route file of VPN client .exe file and but there is no route for the 10.1.0.0 (VNET2) network in the routes.txt file
Manually add the route for the 10.1.0.0 network in the routes.txt file and save the file.
Now we create the New .exe file for extracted file because these files contain updated route for VNET 2.
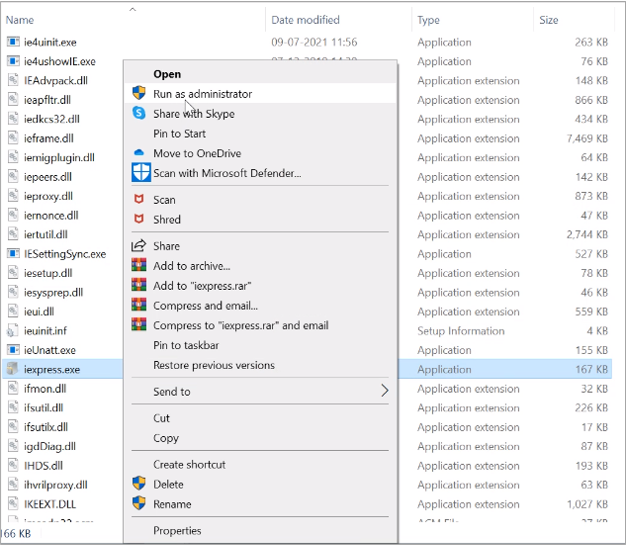
For Creating new .exe, Go to C:\Windows\System32 and Right-click on iexpress.exe, and click on Run as administrator.
Select Create new Self Extraction Directive file. And click on next
Select Extract files and run an installation command and click on next.
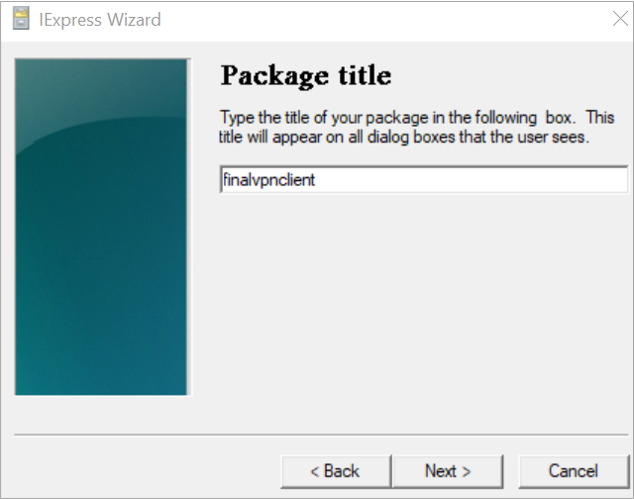
Enter the Name for new .exe file – finalvpnclient
Click on next
Click on next
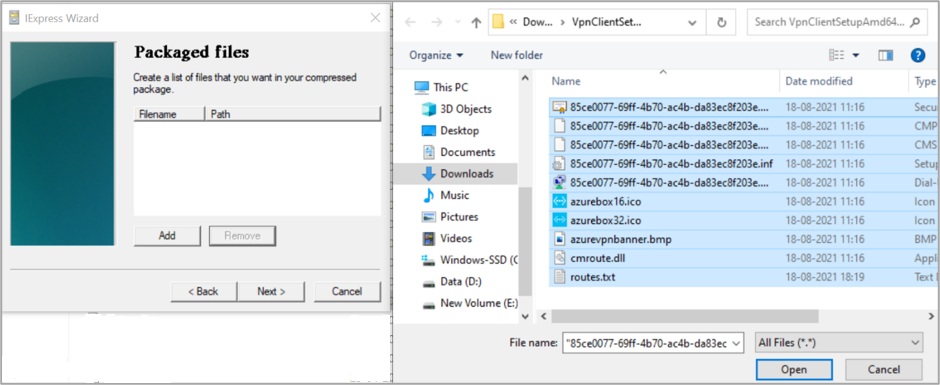
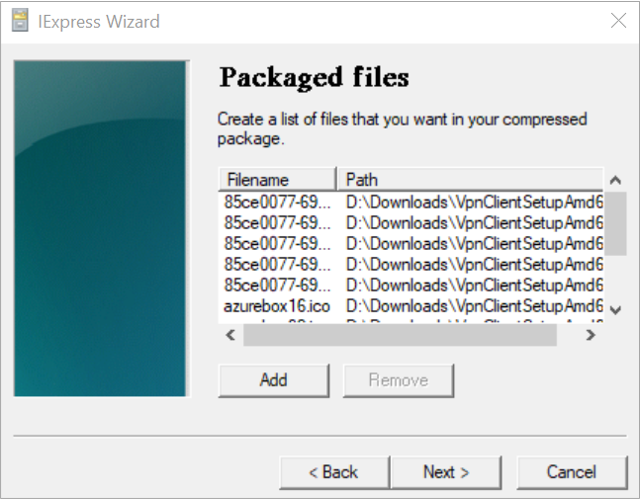
Click on Add and select all the extracted file (extracted for AzureVPN Client.exe) which contains updated route.txt file. Click on Open
Click on next
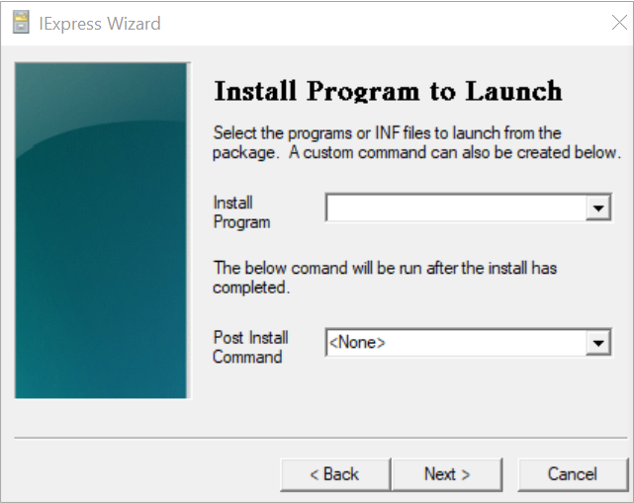
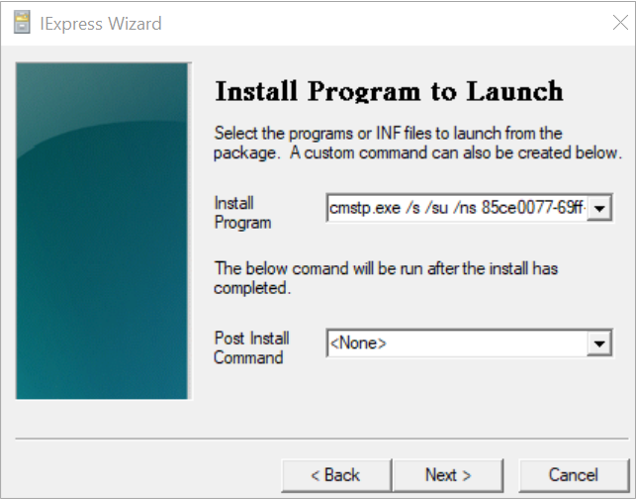
Enter the following command in install program
cmstp.exe /s /su /ns <Name of .inf extension file in the extracted files>
For this case
cmstp.exe /s /su /ns 85ce0077-69ff-4b70-ac4b-da83ec8f203e.inf
85ce0077-69ff-4b70-ac4b-da83ec8f203e.inf – Name of .inf extension file
Click on Next
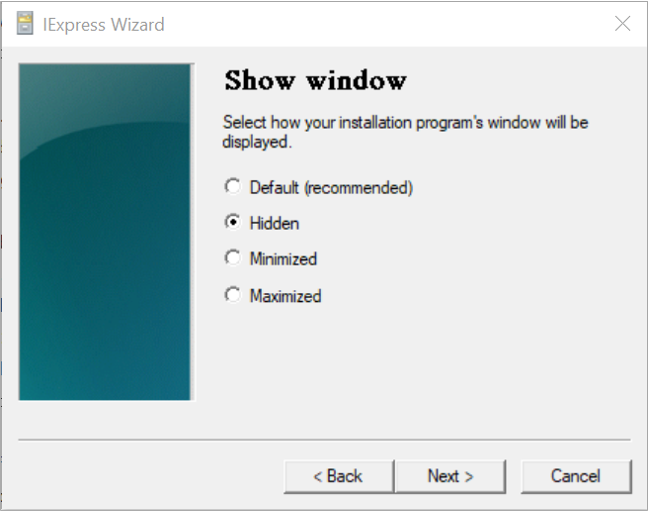
Select the Hidden option and click on Next
Click on Next.
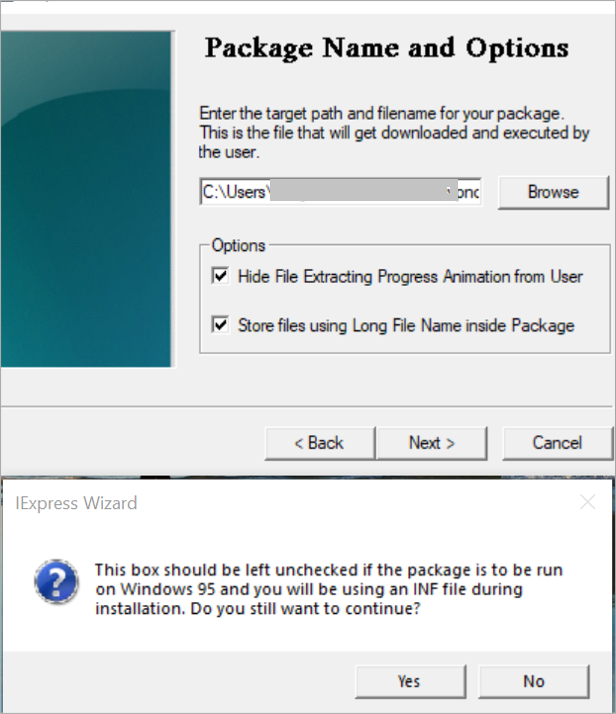
Browse the path to save the new .exe file and Select both check-boxes and click on next and then click on Yes.
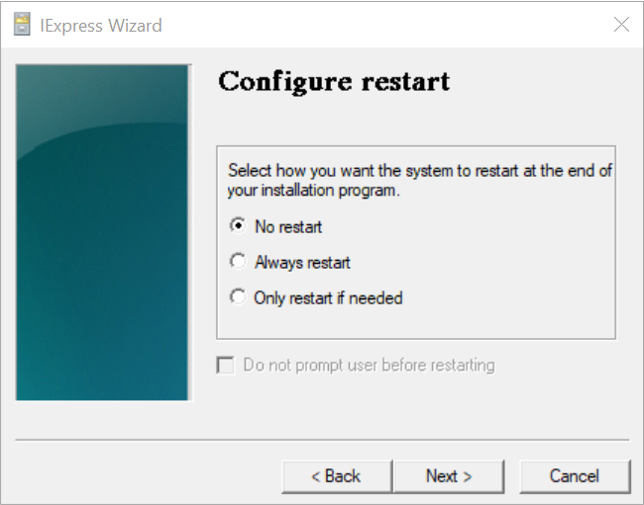
Select No restart and click on Next.
Click on Next.
Click on Finish.
Open the new .exe file and double click on the new .exe file and it gets installed on your system.
Note: Remove all previous connected Azure VPN devices
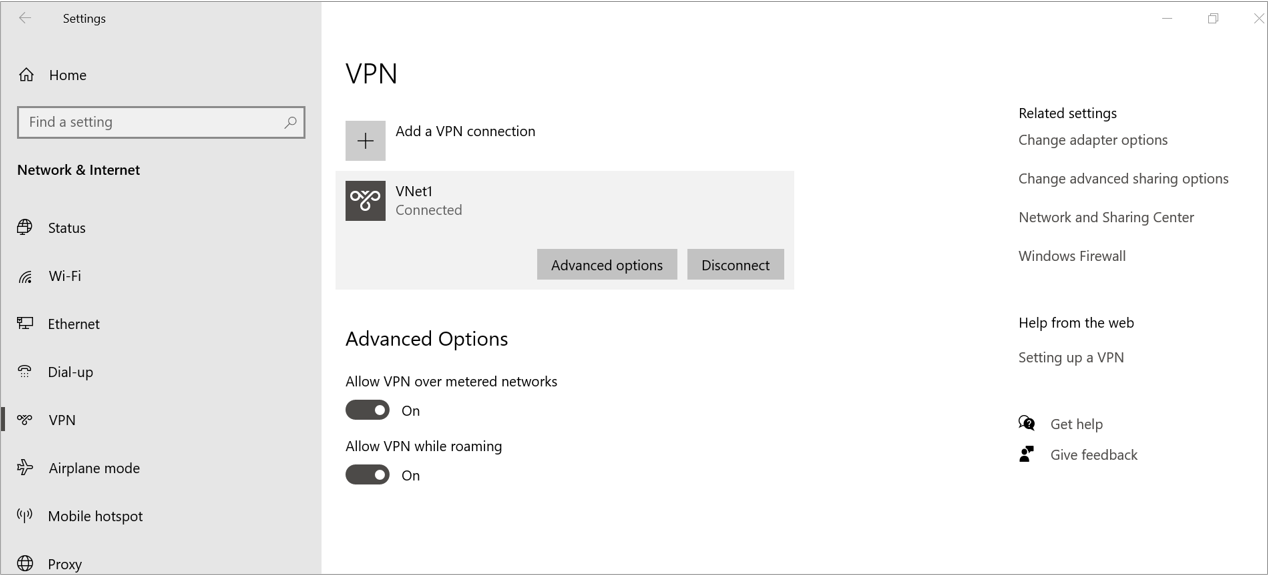
After installation of the VPN client, Go to windows setting >> Network and internet and then VPN
Click on Connect.
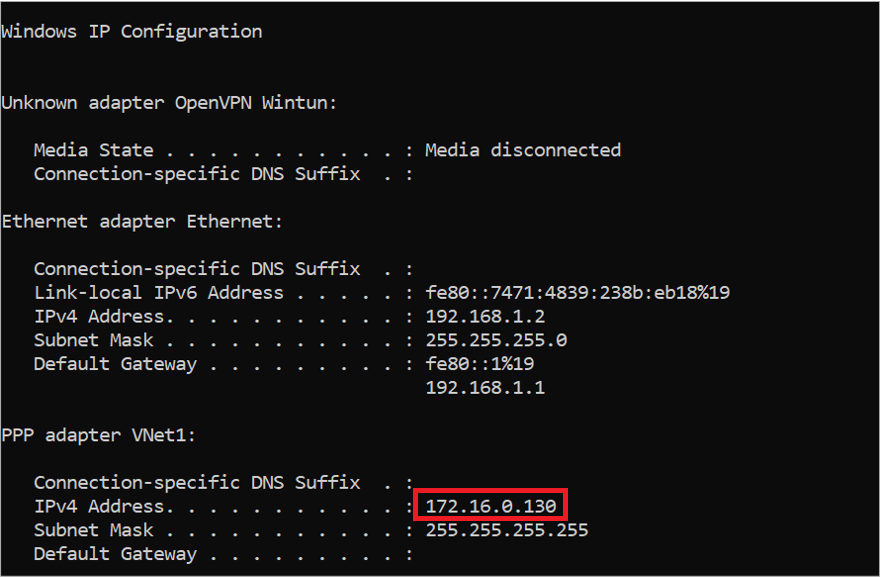
Now we are connected to VPN and get the IP address of the Point-to-Site IP range
Now we can communicate both VNET1 and VNET2.
In this way, we successfully make communication possible for point-to-site users to Network which is over site-to-site.


