Author – Kriti Bhardwaj, Associate Data Engineer
This article describes how to set up Data-in Replication in Azure Database for MySQL by configuring the source and replica servers. Data-in Replication allows you to synchronize data from an external MySQL server into the Azure Database for MySQL service. The external server can be on-premises, in virtual machines, or a database service hosted by other cloud providers. Data-in Replication is based on the binary log (binlog) file position-based.
Supported pricing tier:
Data-in Replication is only supported in General Purpose and Memory Optimized pricing tiers.
Pre – Requisites:
- The source server version must be at least MySQL version 5.6.
- The source and replica server versions must be the same. For example, both must be MySQL version 5.6 or both must be MySQL version 5.7.
- Each table must have a primary key.
- The source server should use the MySQL InnoDB engine.
- User must have permissions to configure binary logging and create new users on the source server.
- Ensure that the source server’s IP address has been added to the Azure Database for MySQL replica server’s firewall rules. Update firewall rules using the Azure Portal.
- Ensure that the machine hosting the source server allows both inbound and outbound traffic on port 3306.
- Ensure that the source server has a public IP address.
Create an Azure Database for MySQL:
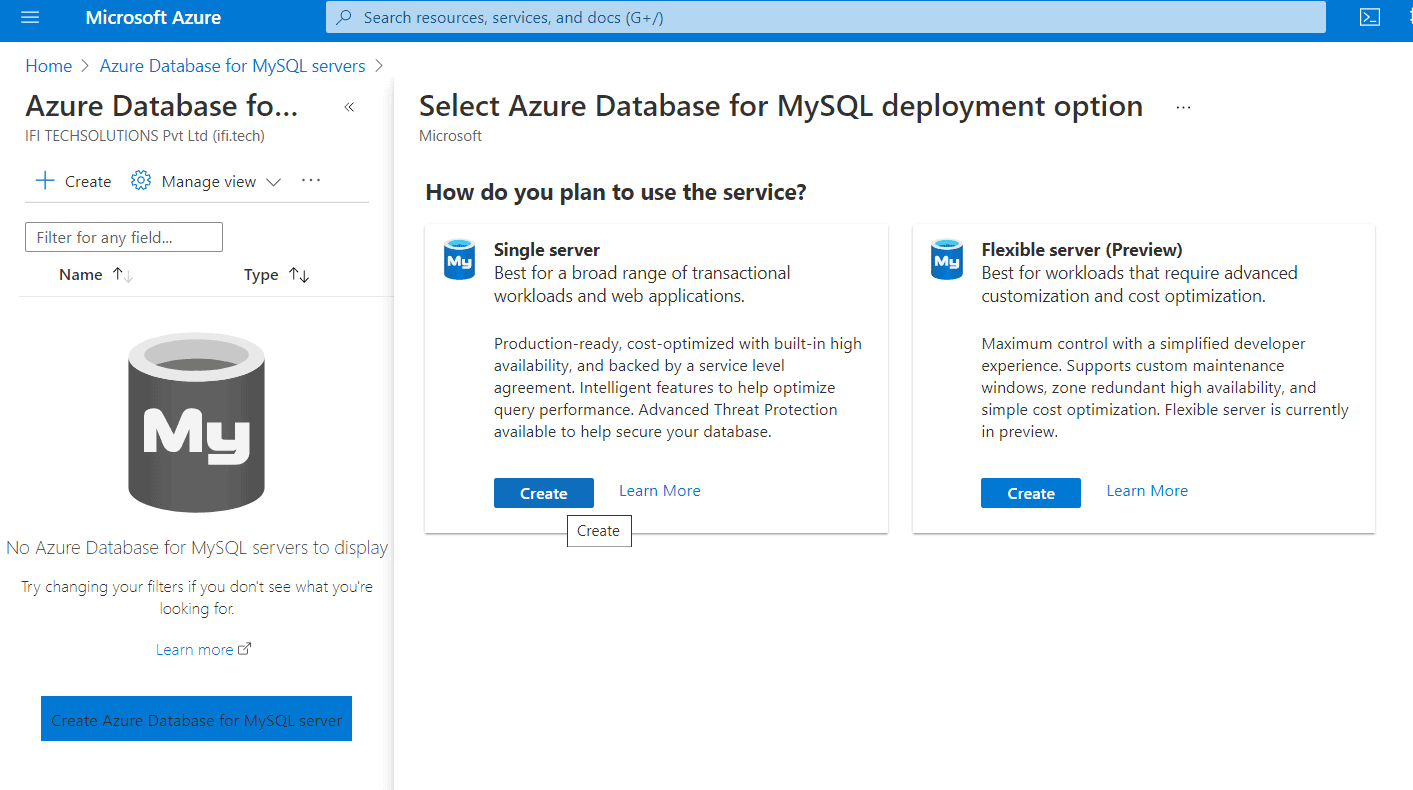
STEP 1: Create an Azure Database for MySQL – Single server Instance to use it as Replica server in Data-in Replication, using Azure portal.
STEP 2: Add the source server’s IP address to the replica’s firewall rules. Update firewall rules using the Azure portal or Azure CLI and also Add the client IP.
Configuring the Source MySQL Server:
The following steps will help in configuring the source MySQL Server hosted on-premises, in a virtual machine, or database service hosted by other cloud providers for Data-in Replication.
STEP 1: Before proceeding ahead, review the source server pre-requisites above.
STEP 2: Create a virtual machine using Azure portal. And download the MySQL installer (must be at least MySQL version 5.6) inside the VM and install it.
STEP 3: Ensure that the source server allows both inbound and outbound traffic on port 3306, and that it has a public IP address, the DNS is publicly accessible, or that it has a fully qualified domain name (FQDN).
STEP 4: Check if the MySQL source Server is connected, If connected, then open the local instance in the MySQL Workbench.
STEP 5: create a database, table and insert some values to it .

STEP 6: Check if binary logging is enabled on source server or not by running the following command.
SQL– SHOW VARIABLES LIKE ‘log_bin’;
If the bin log is ‘off’ the run the following command and then re-run the above command.
log-bin=mysql-bin.log
STEP 7: Configure the source server settings:
Data-in Replication requires the parameter lower_case_table_names to be consistent between the source and replica servers. This parameter is 1 by default in Azure Database for MySQL.
SQL- Show variables like ‘lower_case_table_names’;
(This command can be executed MySQL Workbench as well as MySQL Command lines.)
STEP 8: Create a new replication role and setup permission
Create a user account on the source server that is configured with replication privileges. This can be done through SQL commands or a tool such as MySQL Workbench. The new replication role can be created by using SSL and as well as without using SSL. Here we are creating without SSL.
Without out SSL:
SQL- CREATE USER ‘syncuser’@’%’ IDENTIFIED BY ‘yourpassword’;
GRANT REPLICATION SLAVE ON *.* TO ‘ syncuser’@’%’;
Using Workbench:
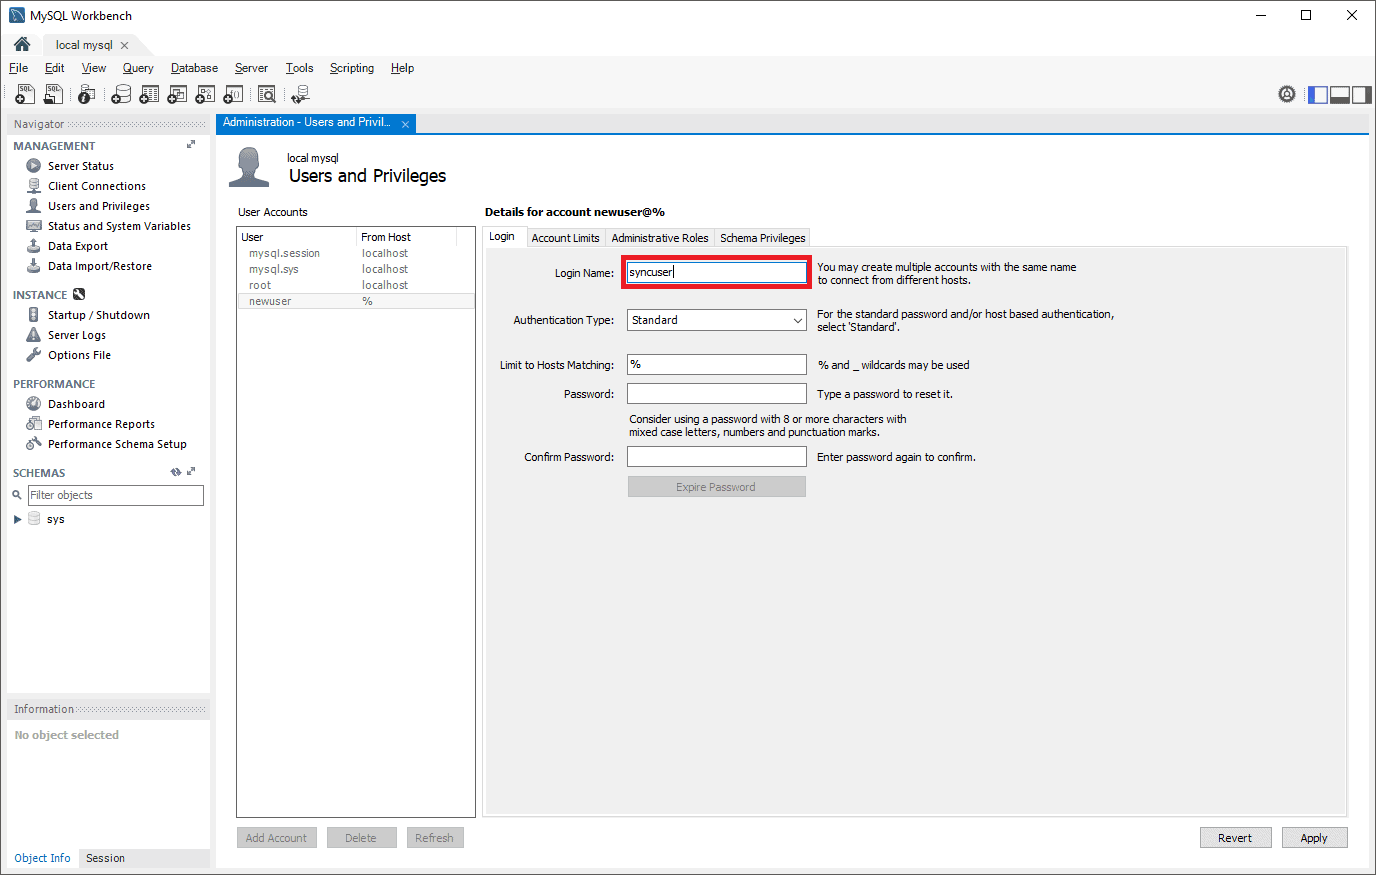
- To create the replication role in MySQL Workbench, open the Users and Privileges panel from the Management panel, and then select Add Account.

- Type in the username into the Login Name field.
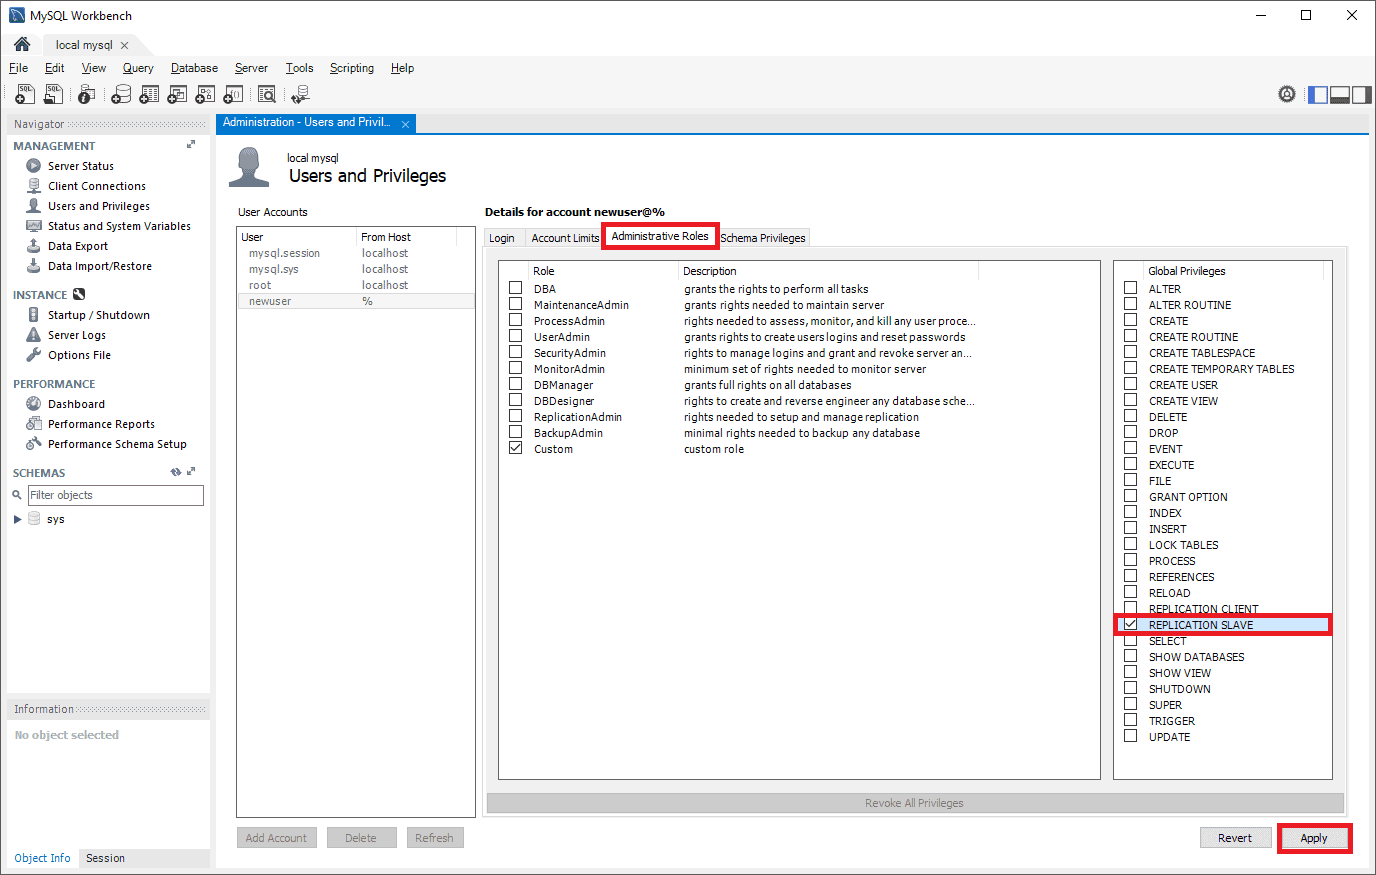
- Select the Administrative Roles panel and then select Replication Slave from the list of Global Privileges. Then select Apply to create the replication role.
STEP 9: Set the source server to read-only mode.
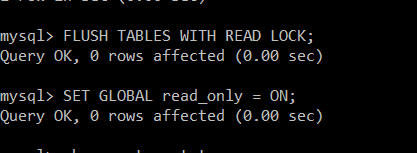
Before moving ahead, the server needs to be placed in read-only mode. While in read-only mode, the source will be unable to process any write transactions.
SQL- FLUSH TABLES WITH READ LOCK;
STEP 10: Get binary log file name and offset.
Run the show master status command to determine the current binary log file name and offset.
SQL- show master status;
Save the binary log file name and position for later use.
Connect the Azure database for MySQL server to local instance:
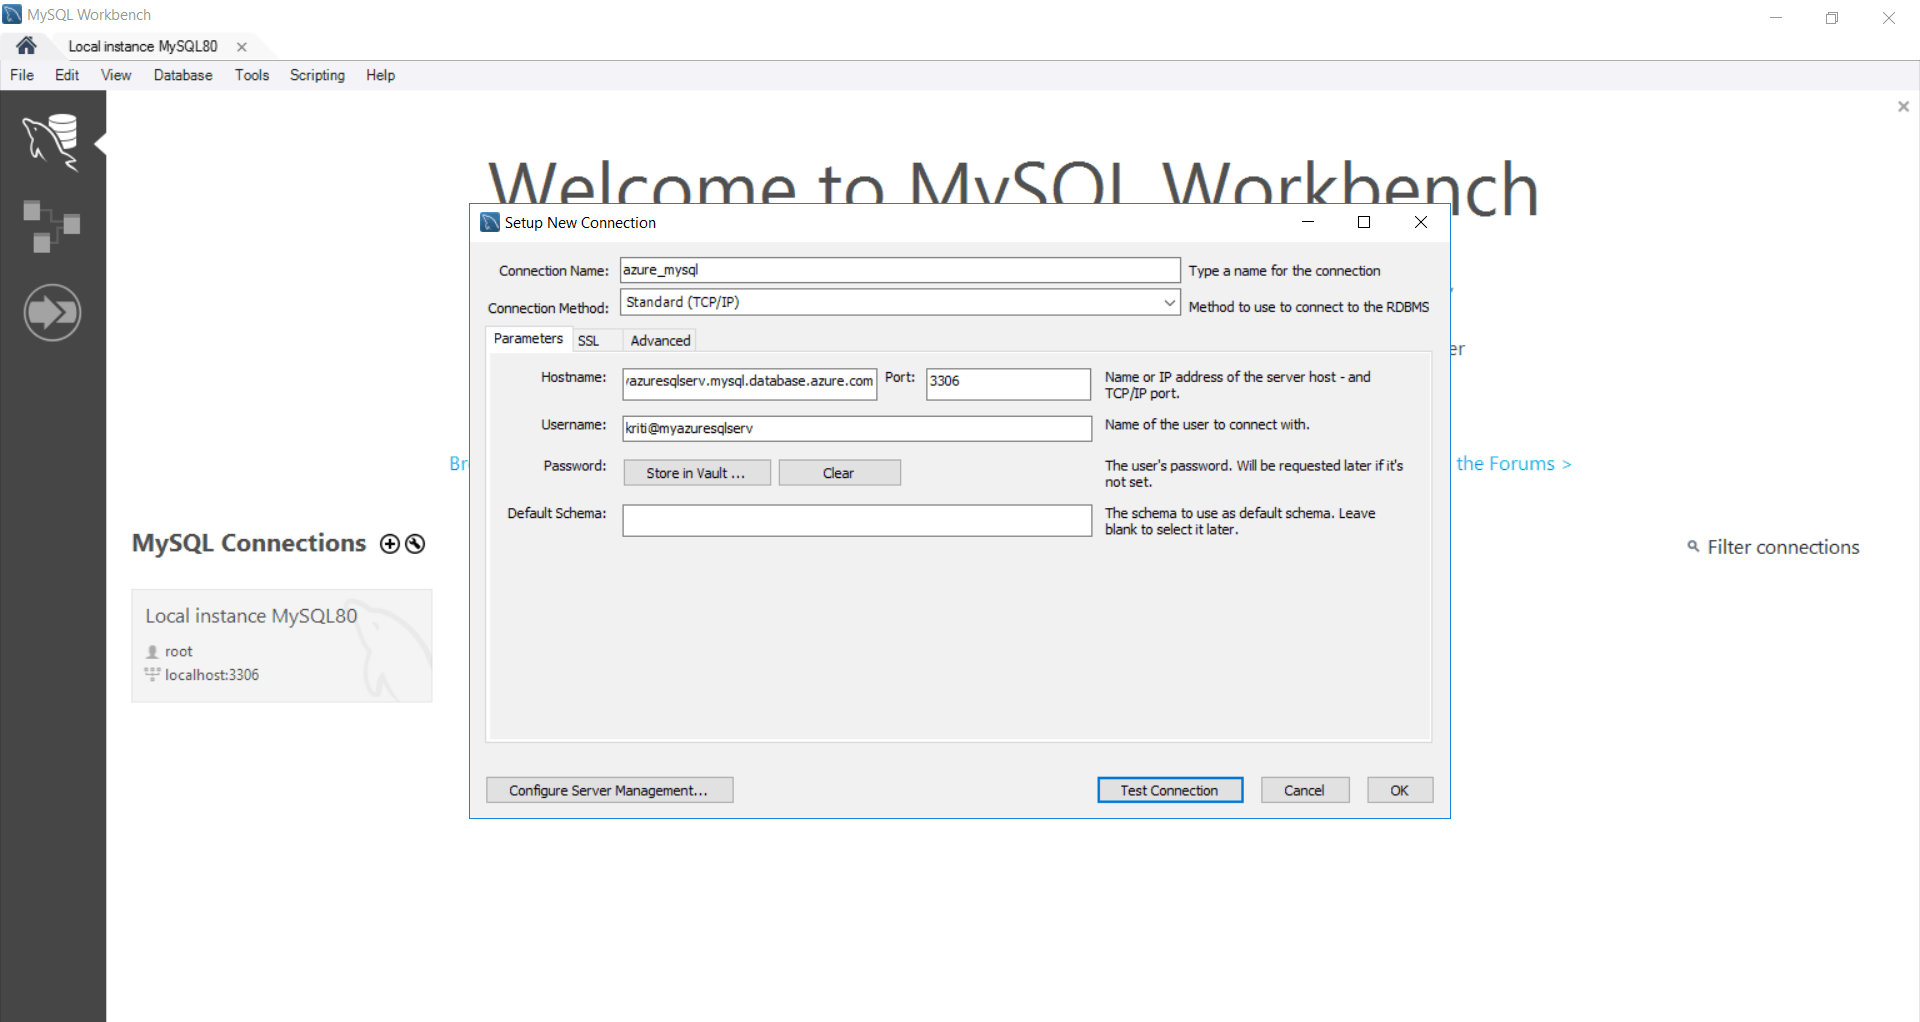
Connect your Azure database for MySQL server to you local instance server. After connecting the server create a database only.
Dump and Restore the Source Server:
Creating a Backup file from the command line using mysqldump:
Determine which databases and tables you want to replicate into Azure Database for MySQL and perform the dump from the source server.
(Following command is to be executed at the bin folder in C drive)
mysqldump –opt -u [uname] -p[pass] [dBname] > [backupfile.sql]
The parameters to provide are:
- [uname] :-Your database username
- [pass] :-The password for your database (note there is no space between -p and the password)
- [dbname] :-The name of your database
- [backupfile.sql] :-The filename for your database backup
- [–opt] :- The mysqldump option
Example- mysqldump -u root -p demo > testdb_backup.sql
To back up a database named ‘demo’ on your MySQL server with the username ‘root’ and with no password to a file testdb_backup.sql, use the following command. The command backs up the ‘demo’ database into a file called testdb_backup.sql, which contains all the SQL statements needed to re-create the database.
Set the source server to read/write mode:
After the database has been dumped, change the source MySQL server back to read/write mode.
SQL- SET GLOBAL read_only = OFF;
UNLOCK TABLES;
Restore the MySQL database using command-line:
Restore the dump file to the server created in the Azure Database for MySQL service.
Once you have created the target database in Azure data for MySQL server, you can use the MySQL command or MySQL Workbench to restore the data into the specific newly created database from the dump file.
(Following command is to be executed at the bin folder in C drive)
mysql -h [hostname] -u [uname] -p[pass] [db_to_restore] < [backupfile.sql]
This example shows how to restore the data into the newly created database on the target Azure Database for MySQL server using mysql for single server.
Example- mysql -h myazuresqlserv.mysql.database.azure.com -u kriti@myazuresqlserv -p testdb < testdb_backup.sql
Once the database is restored, check the database in Azure Database for MySQL server if the tables are restored or not.
Link the source and replica servers to start Data-in Replication:
STEP 1: Set the Source server
All Data-in Replication functions are done by stored procedures. You can find all procedures at Data-in replication stored procedures The stored procedures can be run in the MySQL shell or MySQL Workbench.
To link two servers and start replication, login to the target replica server in the Azure DB for MySQL service and set the external instance as the source server. This is done by using the mysql.az_replication_change_master stored procedure on the Azure DB for MySQL server.
SQL- CALL mysql.az_replication_change_master(‘<master_host>’, ‘<master_user>’, ‘<master_password>’, <master_port>, ‘<master_log_file>’, <master_log_pos>, ‘<master_ssl_ca>’);
- master_host: hostname of the source server.
- master_user: username for the source server.
- master_password: password for the source server.
- master_port: port number on which source server is listening for connections. (3306 is the default port on which MySQL is listening).
- master_log_file: binary log file name from running show master status.
- master_log_pos: binary log position from running show master status.
- master_ssl_ca: CA certificate’s context. If not using SSL, pass in empty string.
Example- CALL mysql.az_replication_change_master(‘master.companya.com’, ‘syncuser’, ‘P@ssword!’, 3306,
‘mysql- bin.000002’, 120, ”);
STEP 2: Start the replication.
SQL- CALL mysql.az_replication_start;
STEP 3: Check replication status
Call the show slave status command on the replica server to view the replication status.
SQL- show slave status;
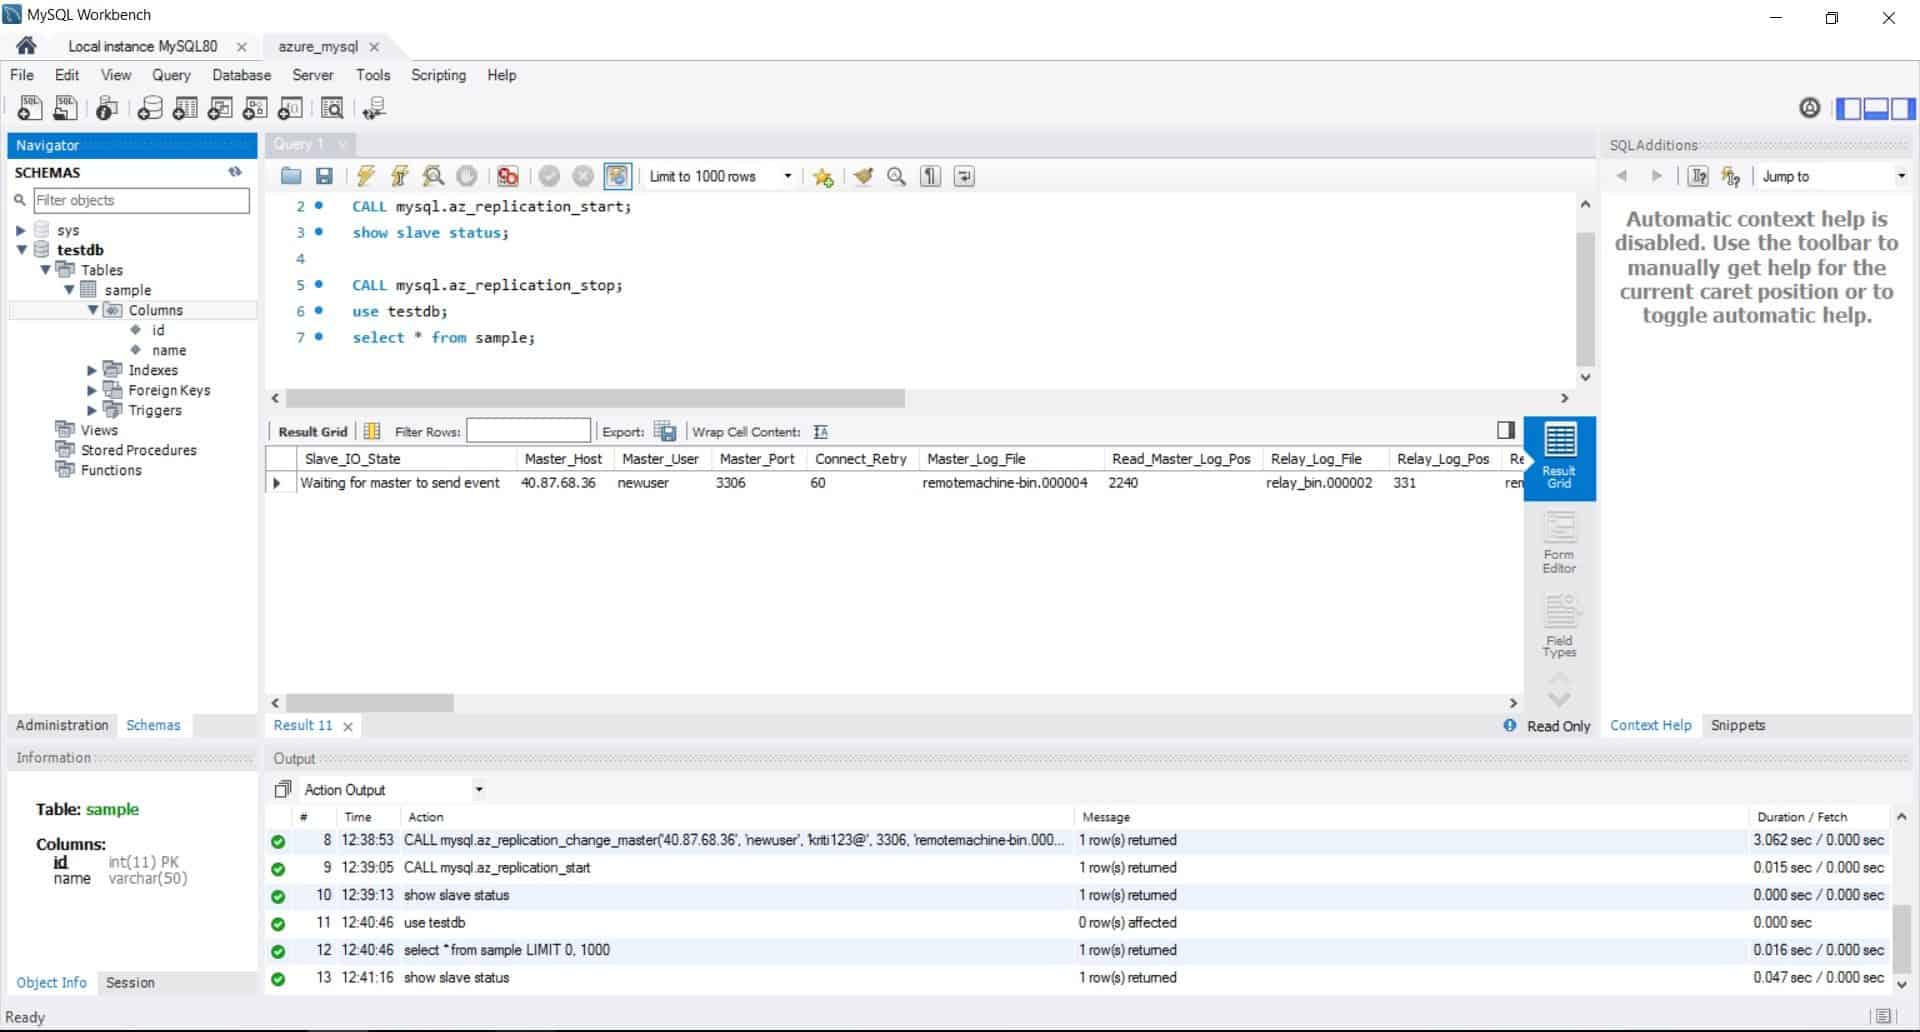
If the state of Slave_IO_running and Slave_SQL_running are “yes” and the value of Seconds_Behind_Master is “0”, replication is working well. Seconds_Behind_Master indicates how late the replica is. If the value isn’t “0”, it means that the replica is processing updates.
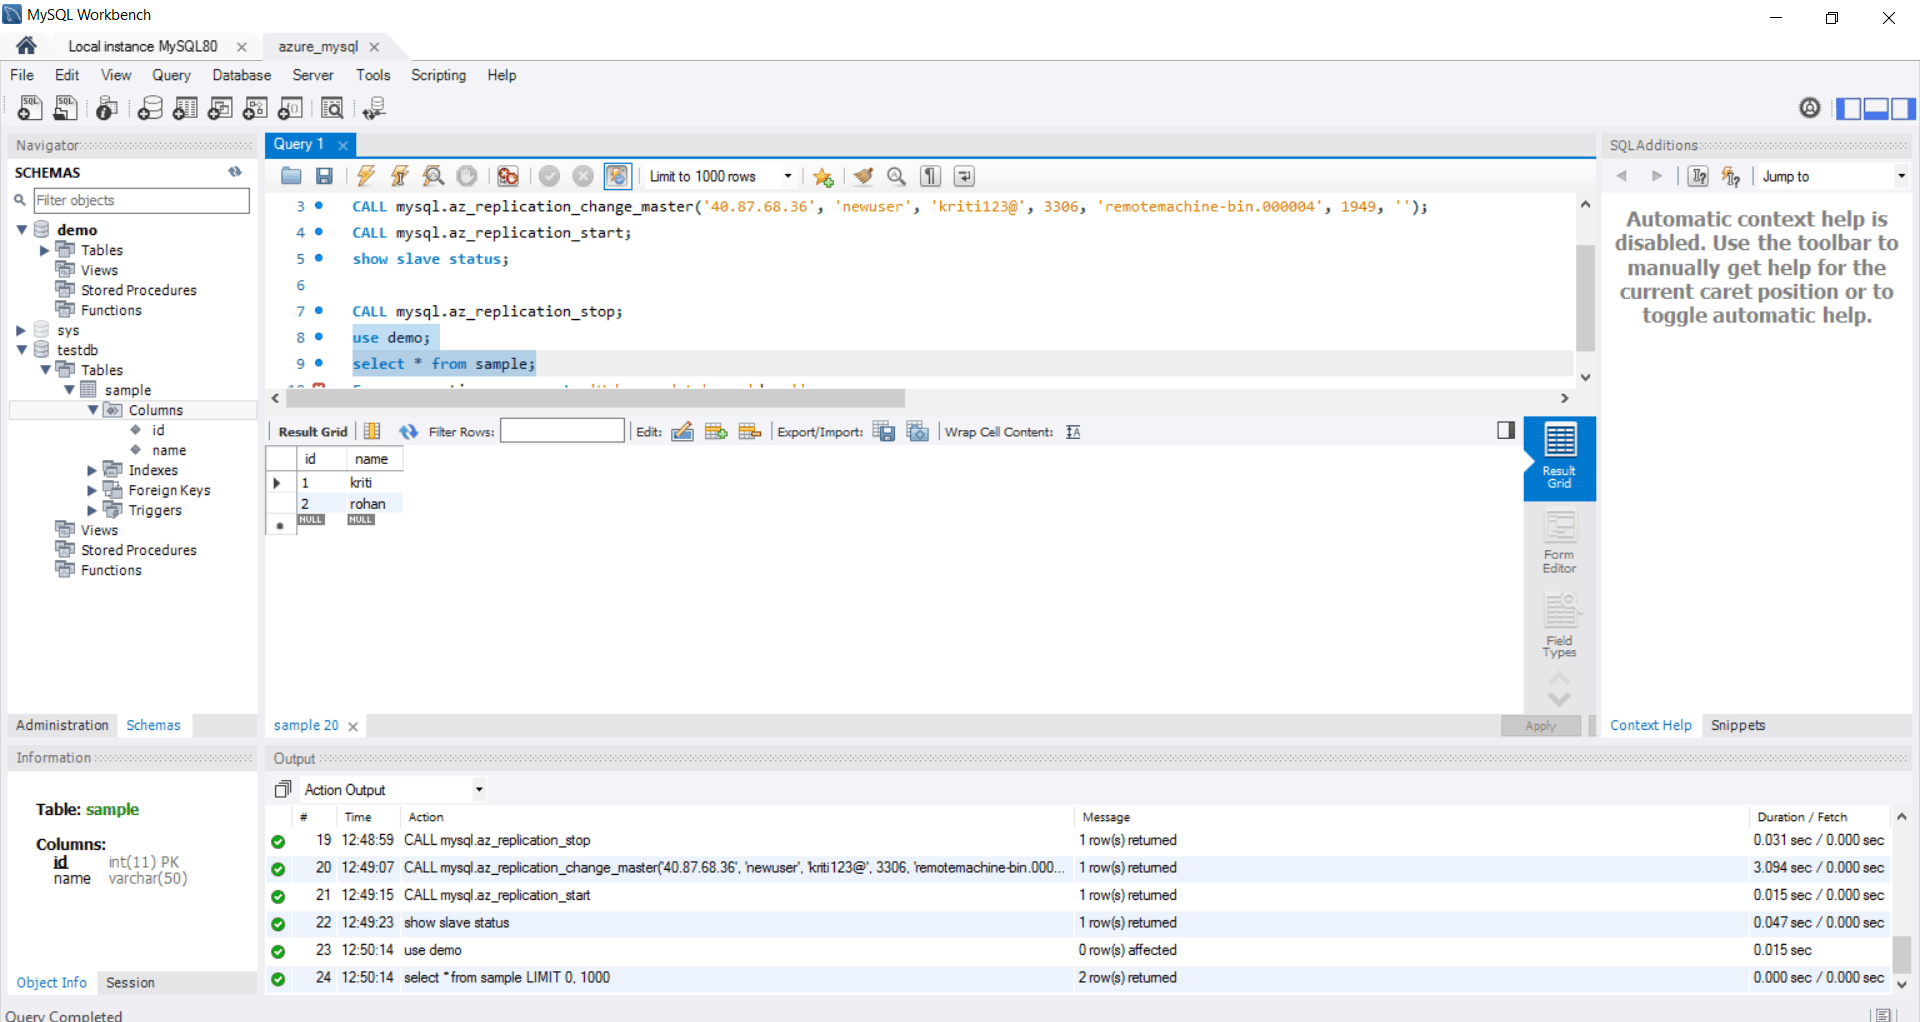
‘Waiting for master to send event’ means that the replication is committed. Hence, if we run the sql command – “select * from table name” in Azure database for MySQL server it will show the exact table replicated from the source server.
Other useful stored procedures for Data-in Replication:
1.Stop replication
To stop replication between the source and replica server, use the following stored procedure:
2.Remove replication relationship
To remove the relationship between source and replica server, use the following stored procedure:
3.Skip replication error
To skip a replication error and allow replication to continue, use the following stored procedure:
SQL- CALL mysql.az_replication_skip_counter;


