Author – Pranjal M. Rele, Associate Cloud Engineer
Problem Statement:
How to set up Database Replication in MySQL on Ubuntu 16.04 LTS?
Introduction:
MySQL replication allows you to have an exact copy of a database from a master server on another server (slave).
All updates to the database on the master server are immediately replicated to the database on the slave server so that both databases are in sync.
This is not a backup policy because an accidentally issued DELETE command will also be carried out on the slave.
Replication can help protect against hardware failures though.
Pre-Requisites:
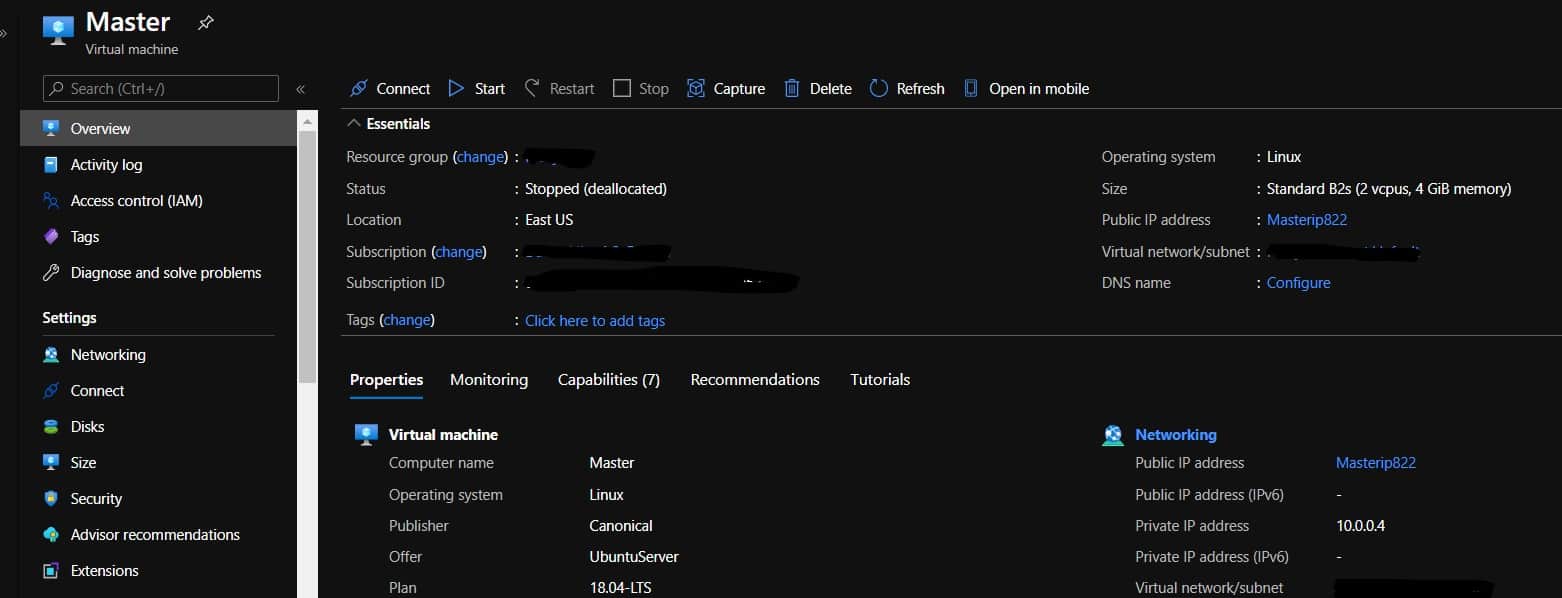
1. MASTER Server (In my case, master server is ‘Master’ Linux (Ubuntu 16.04-LTS)).
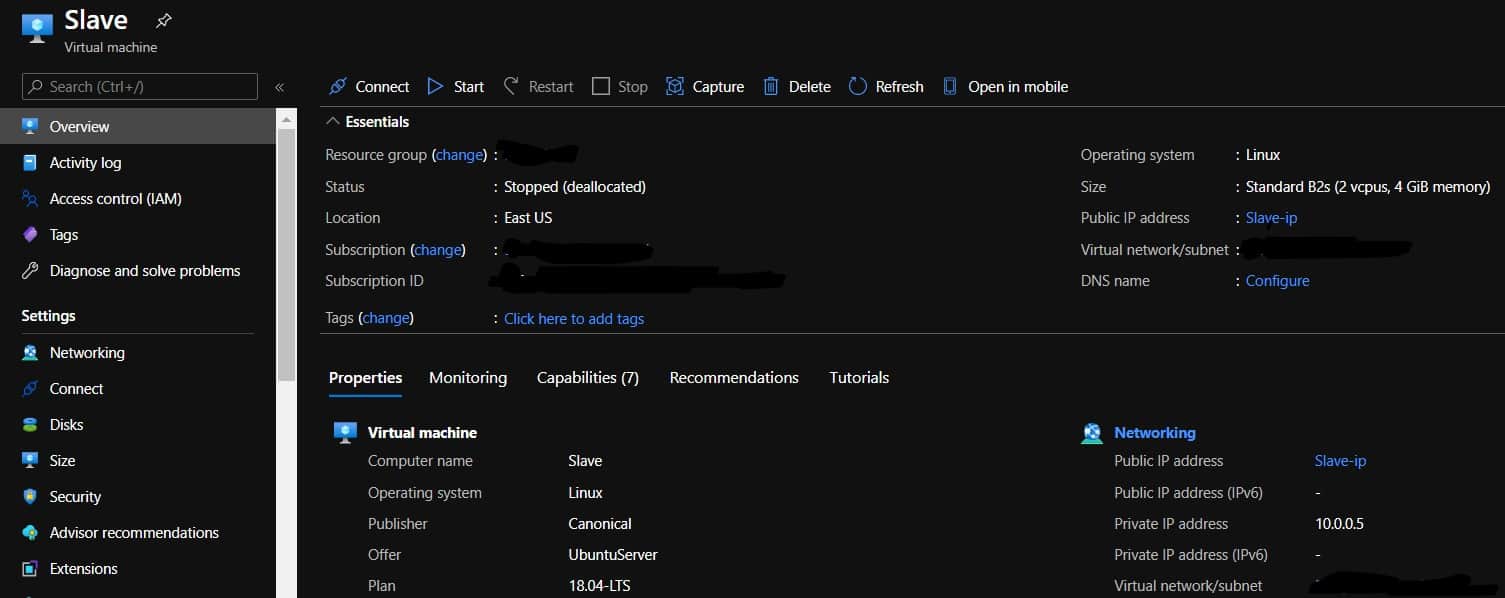
2. SLAVE Server ((In my case, master server is ‘Slave’ Linux (Ubuntu 16.04-LTS)).
3. A common Virtual Network for both the servers.
Steps:
- Installing MySQL 5 on both the servers.
sudo apt install mysql-server - Once the installation is completed, check if you can successfully login with the following command.
mysql -u root -p
You will be asked for a password, Provide the password. Once you see the mysql shell, type exit and come out of the shell.
- Configuring the Master server.
You need to edit /etc/mysql/my.cnf file.
Set bind address i.e. listen only on db1’s private IP address 192.168.2.5 (make sure you replace the IP 192.168.2.5 with your actual IP address).

- Restart MySQL afterwards.
/etc/init.d/mysql restart - Then check with, that MySQL is really listening on all interfaces on the master.
netstat -tap | grep mysql
- Now we set up a replication user slave_userthat can be used by slave server to access the MySQL database on master server. Run the following command on Master server.
mysql -u root -p
On mysql shell run the following commands.
GRANT REPLICATION SLAVE ON *.* TO ‘slave_user’@’%’ IDENTIFIED BY ‘slave_password’;
FLUSH PRIVILEGES;
Quit; - Create a database ‘dummy’ on Master server, create a table and insert some data.
Create database dummy;
Use dummy;
Create table Persons (ID int, Name varchar(20));
Insert into Persons Values (01, ‘ABC’);
Select * from Persons; - Furthermore, we have to tell MySQL for which database it should write logs (these logs are used by the slave to see what has changed on the master), which log file it should use, and we have to specify that this MySQL server is the master. We want to replicate the database dummy, so we add/enable the following lines in /etc/mysql/my.cnf(in the [mysqld]section):
cat /etc/mysql/my.cnf
- Then, restart MySQL.
service mysql restart - Next, we lock the dummy database on Master server, find out about the master status. Create an SQL dump of dummy(that we will import into dummy on slave server so that both databases contain the same data), and unlock the database so that it can be used again.
mysql -u root -p
use dummy;
FLUSH TABLES WITH READ LOCK;
SHOW MASTER STATUS;
- Now do not leave the MySQL shell, because if you leave it, the database lock will be removed, and this is not what we want right now because we must create a database dump now. While the MySQL shell is still open, we open a second command line window where we create the SQL dump sqland transfer it to Slave server. Replace following command with your values.
Mysql -u root -p
mysqldump -u azureuser –p dummy > dummy_dump.sql;
15. Afterwards, you can close the second command line window.
On the first command line window, we can now unlock the database and leave the MySQL shell. Run following commands on master server.(Optional Step)
UNLOCK TABLES;
quit;
- Configuring the Slave Server.
Now we must configure the slave. Open /etc/mysql/my.cnfand make sure you have the following settings in the [mysqld]
vi /etc/mysql/my.cnf
The value of server-id must be unique and thus different from the one on the master!
- Then, restart MySQL.
service mysql restart - Before we start setting up the replication, we create an empty database dummy on Slave server. Create an empty database likewise on master.
- On slave server now we can import sql dump by running the following command. Replace following command with your values.
/usr/bin/mysqladmin –user=root –password=yourrootsqlpassword stop-slave
cd /tmp
mysql -u root -pyourrootsqlpassword dummy < snapshot.sql - Connect to MySQL again and run the following command to make ‘Slave’a slave of Master (It is important that you replace the values in the following command with the values you got from the SHOW MASTER STATUS; command that we ran on Master server!)
START SLAVE;CHANGE MASTER TO MASTER_HOST=’10.0.0.9′, MASTER_USER=’slave_user’, MASTER_PASSWORD=’slave_password’, MASTER_LOG_FILE=’mariadb-bin.000001′, MASTER_LOG_POS=154;Note:
- MASTER_HOST is the IP address or hostname of the master.
- MASTER_USER is the user we granted replication privileges on the master.
- MASTER_PASSWORD is the password of MASTER_USER on the master.
- MASTER_LOG_FILE is the file MySQL gave back when you ran SHOW MASTER STATUS; on the master.
- MASTER_LOG_POS is the position MySQL gave back when you ran SHOW MASTER STATUS; on the master.Again, Start the slave ( START SLAVE; )
- Then, check slave status.
SHOW SLAVE STATUS \G
- Then try some test cases, you can see I had created persons table on the Master in my dummy database I could see the same employee table on my Slave server also.


