Overview
Azure Communication Services is a cloud-based communications service that lets you add group video, and chat to your apps.
Voice and Video Calling:
- Low latency capabilities for an uninterrupted calling experience.
- Build and control the communication experiences you want.
- Seamlessly shift between voice and video calls in a multichannel communication experience.
Chat:
- Launch into a session with a single click, for real-time response and resolution
- Personalize customer conversations with an agent chat interface
- Significant cost savings compared to traditional phone-based customer service
Prerequisites
- Sign up for an Azure subscription (Sign up for free)
Creating Azure Communication Service in Azure Portal
- Open Azure Portal
- On the top left of the portal, click on the hamburger button(≡), click on Create a resource, search for Communication Service
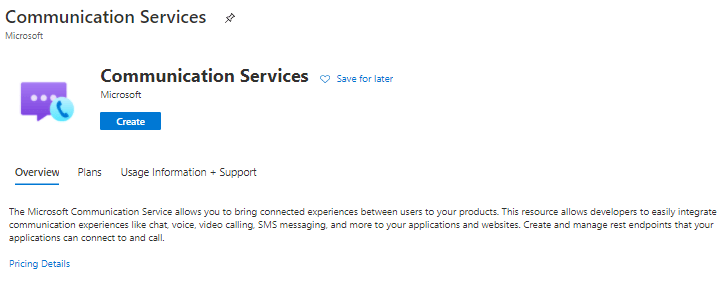
- Select the Communication Services in the result and then select Create
- Fill out the form on the Azure Communication service.
Subscription: Select the subscription you want to be billed for this resource.
Resource group: Creating new resource groups for new resources is the best practice.
Resource Name: Provide the name of the service
Location: Select the region for your service.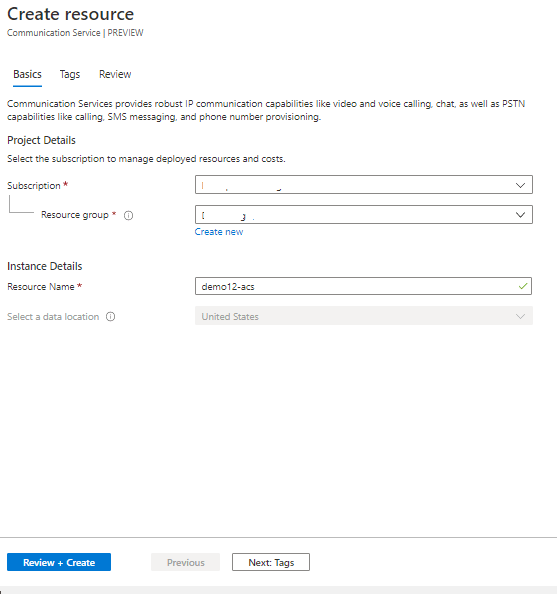
- Once you fill in the Subscription, Resource Group, unique Resource name, Region, click on Review & create.
Access your Communication Strings and Service Endpoint
After navigating to your Communication Services resource, select Keys from the navigation menu, and copy the Connection string or Endpoint values for usage by the Communication Services client libraries.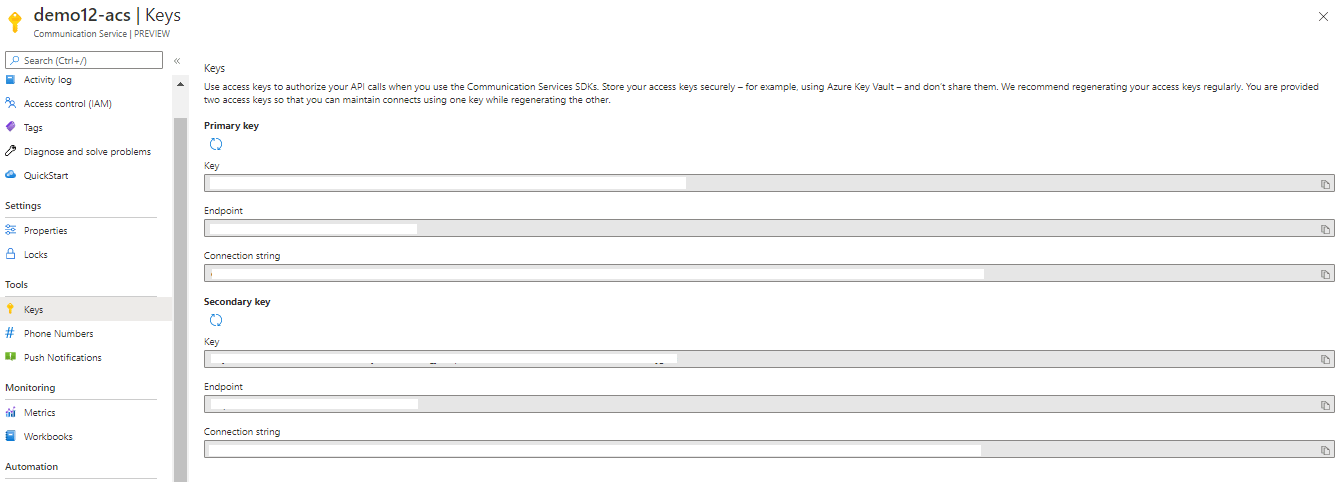
Creating Web Apps in Portal
- Open Azure Portal
- On the top left of the portal, click on the hamburger button(≡), click on Create a resource, search for Web App
- Select the Web App in the result and then select Create
Fill out the form on the Web App
- Subscription: Select the subscription you want to be billed for this resource.
- Resource group: Select the Resource group.
- Resource Name: Provide the name of the service
- Publish: Select Publish as Code
- Runtime Stack: Select the Runtime Stack as .Net Core 3.1
- Location: Select the region for your service.
- App Service Plan: Select the default App Service plan or can create the new App Service plnaSKU Size: Select the size
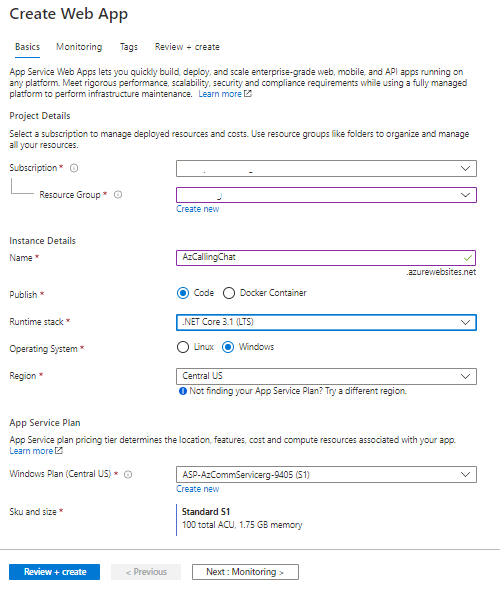
Create separate 2 Web Apps for both Calling and Chat Application
Access Tokens:
Access tokens let your Chat and Calling client libraries to authenticate directly against Azure Communication Services.
User Access Tokens enable you to authorize your application’s users to connect directly to your Azure Communication Services resource
Scopes allow you to specify the exact Azure Communications Services functionality that a user access token will be able to authorize. Scopes are applied to individual user access tokens. Azure Communication Services supports the following scopes for user access tokens:
Chat – Grants the ability to participate in a chat
VoIP- Grants the ability to make and receive VOIP calls
Pstn- Grants the ability to make a PSTN call
For more details on Access Token https://docs.microsoft.com/en-us/azure/communication-services/quickstarts/access-tokens?pivots=programming-language-csharp
Group Calling & Chat
This is a sample application to show how the ACS Calling and Chat Web SDK can be used to build a group calling & Chat experience. The client-side application is a React based user interface which uses Redux for handling complex state while leveraging Microsoft Fluent UI. Powering this front-end is a C# web application powered by ASP.net Core to connect this application with Azure Communication Services.
Prerequisites for Group Calling & Chat
- An Azure account with active Subscription
- Node.js (12.18.4 and above)
- Visual Studio (2019 and above)
- .NET Core 3.1
- Create an Azure Communication Services resource. You’ll need to record your resource connection string for this quick start.
- Create two Web Apps in Azure Portal
GithubLink: https://github.com/Azure/Communication.git
Changes required before running the code
- Open an instance of PowerShell, Windows Terminal, Command Prompt, or equivalent and navigate to the directory that you’d like to clone the below sample to.
- git clone https://github.com/Azure/Communication.git
- Get the Connection String from the Azure portal.
- Once you get the Connection String, add the connection string to the Calling/appsetting.json file found under the Calling folder and also repeat the same for the Chat application. Input your connection string in the variable: ResourceConnectionString
- Provide Calling web app url in Chat application (Chat/ClientApp/src/components/ChatHeader.tsx) onClick of Primary button
Locally deploying the samples
- Go to the Chat folder and open Chat.csproj solution in Visual Studio
- To run the entire application locally, replace the onClick url in ChatHeader.tsx with the localhost url of calling application
Publish to Azure
- Right-click the Calling project and Chat project and select Publish.
- Create a new publish profile and select your app name, Azure subscription, resource group and etc.
- Before publish, add your connection string with Edit App Service Settings, and fill in ResourceConnectionString as key and connection string (copy from appsettings.json) as value
- Click on the url of the Web app for Chat Application in the Azure portal, Home screen of Azure Communication Service will appear as below.

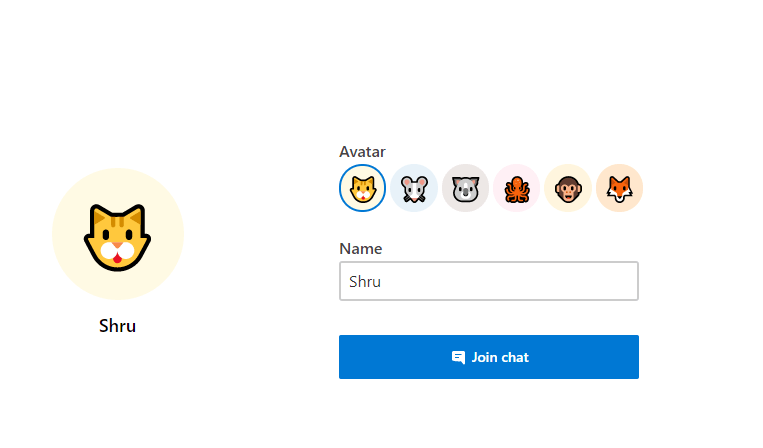
- After clicking on Start Conversation, Please provide your name and Join Chat
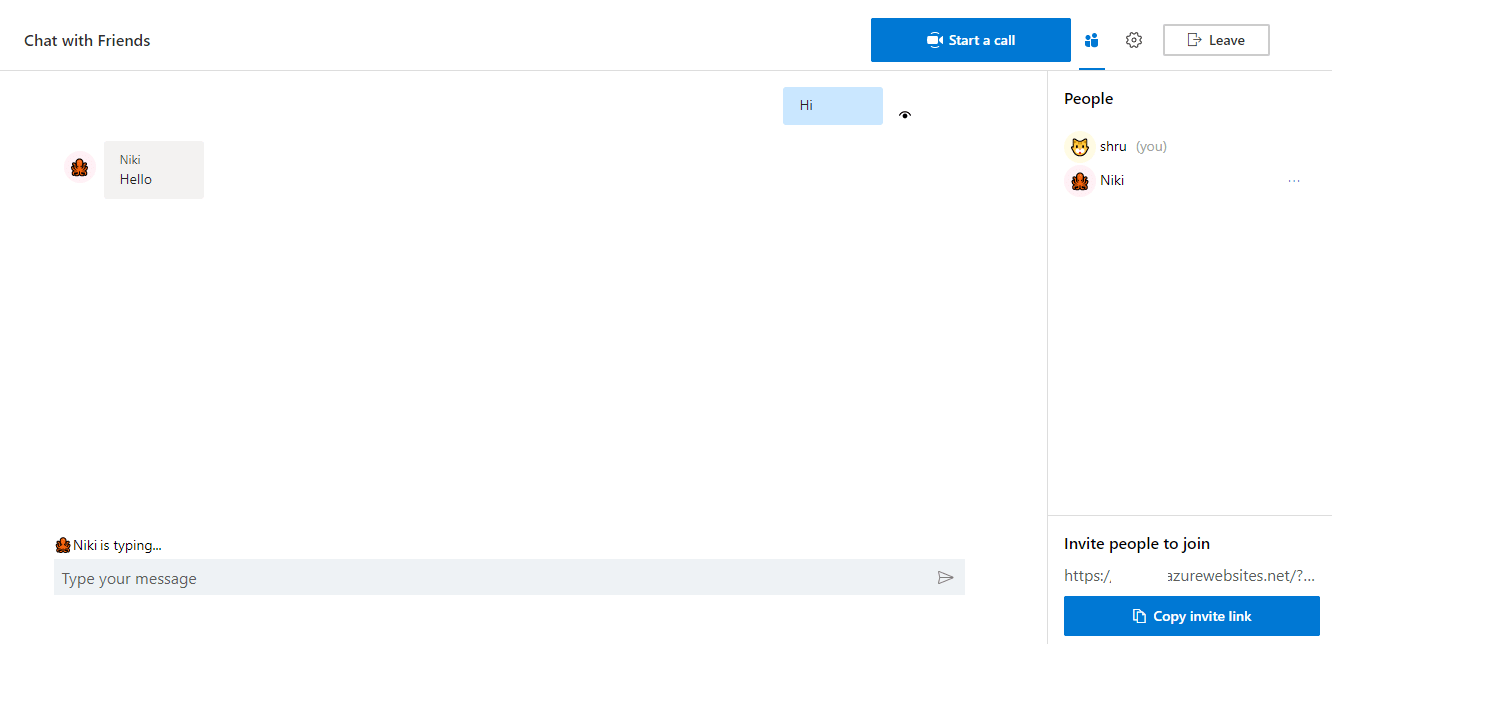
- You can invite your friends for Chat Conversation by clicking on the User Symbol on the top right and share the invite link with your friends which is at the bottom right as shown below. And also under Settings, you can change the Group name.
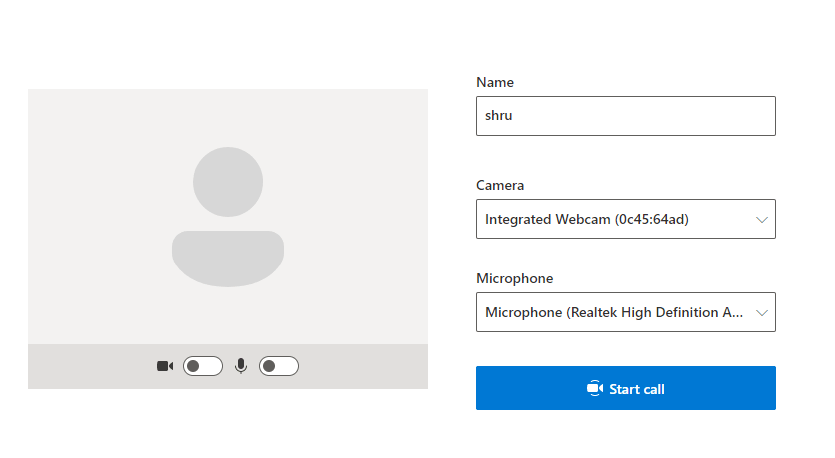
- You can join the call by clicking on Start a Call button on Top right which will be redirected to the below page. Provide your name and select the Camera and Microphone from the dropdown and start the call.
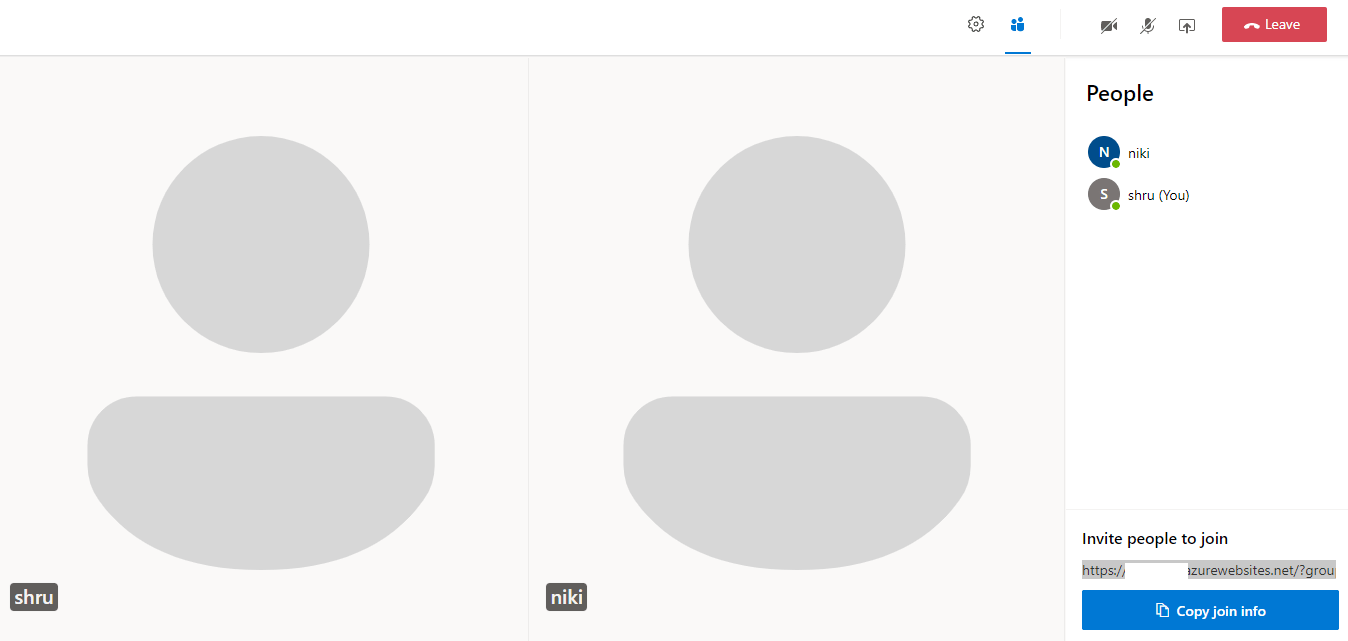
- You can invite your friends for the Group call by sending the invite link which is at the top right.
- Once You exit the Call/Chat, you also can rejoin the Call/Chat application again.


