Author – Siddhi Morajkar, Cloud Engineer
Overview
Before getting started with the integration of Terraform with Azure DevOps, let’s get an overview of Terraform and Azure DevOps.
Terraform is an open-source tool for provisioning and managing cloud infrastructure. Terraform’s CLI provides a simple mechanism to deploy and version the configuration files to Azure or any other cloud provider.
Azure DevOps provides developer services to support teams to plan together and helps in code collaboration in order to build and deploy applications. It offers several services that include Azure Repos, Azure Pipelines, Azure Boards, Azure Test Plans, and Azure Artifacts.
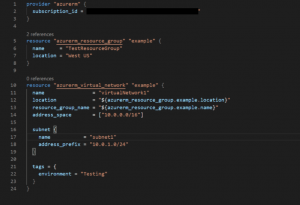
Let’s start by building a simple Terraform template. Here’s an example of a Terraform code that creates a Virtual Network (VNet) and a subnet.
- Once the template is completed, we have to create a DevOps project in order to deploy this infrastructure in our subscription.
- First, navigate to dev.azure.com then create a project.

Project creation dialog box
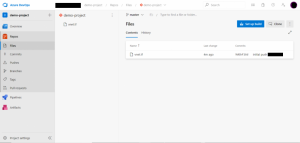
- After creating a Project, On the left go to Repos > Files and then add your files to it. In order to add files, Clone your repository to your computer.
- Copy clone URL and paste it in your source code editor.
- After successful cloning, the page will appear like this.
- The next step is creating your first build for future releases.
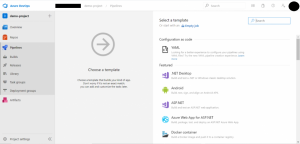
- Click on Pipeline > Builds > New Pipeline. Then select your repository.
- Select a template of your choice, here we will select Empty job.
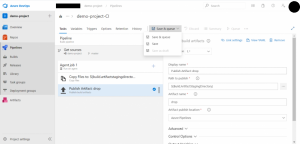
- Add job of type ‘Copy files’ and set the target folder as “$(build.artifactstagingdirectory)”
- Then add the job of type ‘Publish artifact’ and keep the parameters as is.
- Click on ‘Save and Queue’.
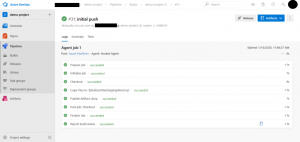
- After a successful build, the page will appear like this.
- Further, click on ‘Release‘ and then select ‘Empty job’.
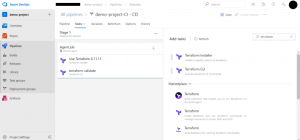
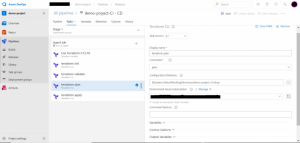
- Add tasks ‘Terraform Build and Release tasks’. Then add ‘Terraform Installer’ and ‘Terraform CLI’ tasks.
- Select an appropriate version of Terraform (Here 0.12.18).
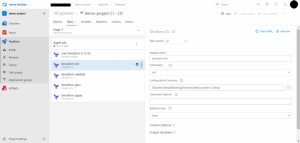
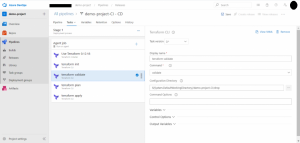
- Select the appropriate configuration directory for every step.
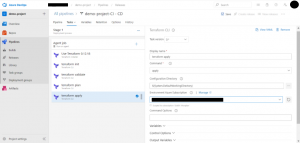
- Select the suitable Subscription in the ‘Environment Azure Subscription’ block and then authorize it.
- Save all the changes made and ‘Create Release’.
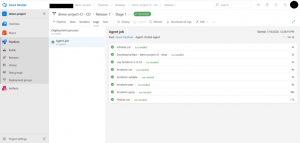
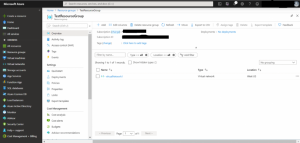
- After a successful release, all the defined resources are created in the Subscription.


